
Hello!
This week I will be sharing,
dare I admit this,
one of the my few attempts with watercolors.
Please know that I am certainly not trying to come across as proficiently skilled with these fun paints called watercolors.

Yes, I know: how can I teach an art lesson on something I am not well experienced at?
Well, let's just say that I am on this learning journey, too,
and am sharing my trials and errors hoping they will help somebody else out.
Of course, I have created countless "watercolors" using the kid sets of brightly colored chips of pigment that my children seem to turn to mud within a five minute painting session.
Although children watercolors are inferior to the beauty of good watercolors,
I think the general feel/techniques of them helps to prepare for the better quality ones.
So, if you are inexperienced with them, just put on your childhood smock and bring up that happy memory of painting with those muddy palettes.

I watched several Youtube videos to get some ideas, tips, and general procedures before I decided to open up the new set of Winsor and Newton set of 14 watercolors I recently picked up on a good sale.
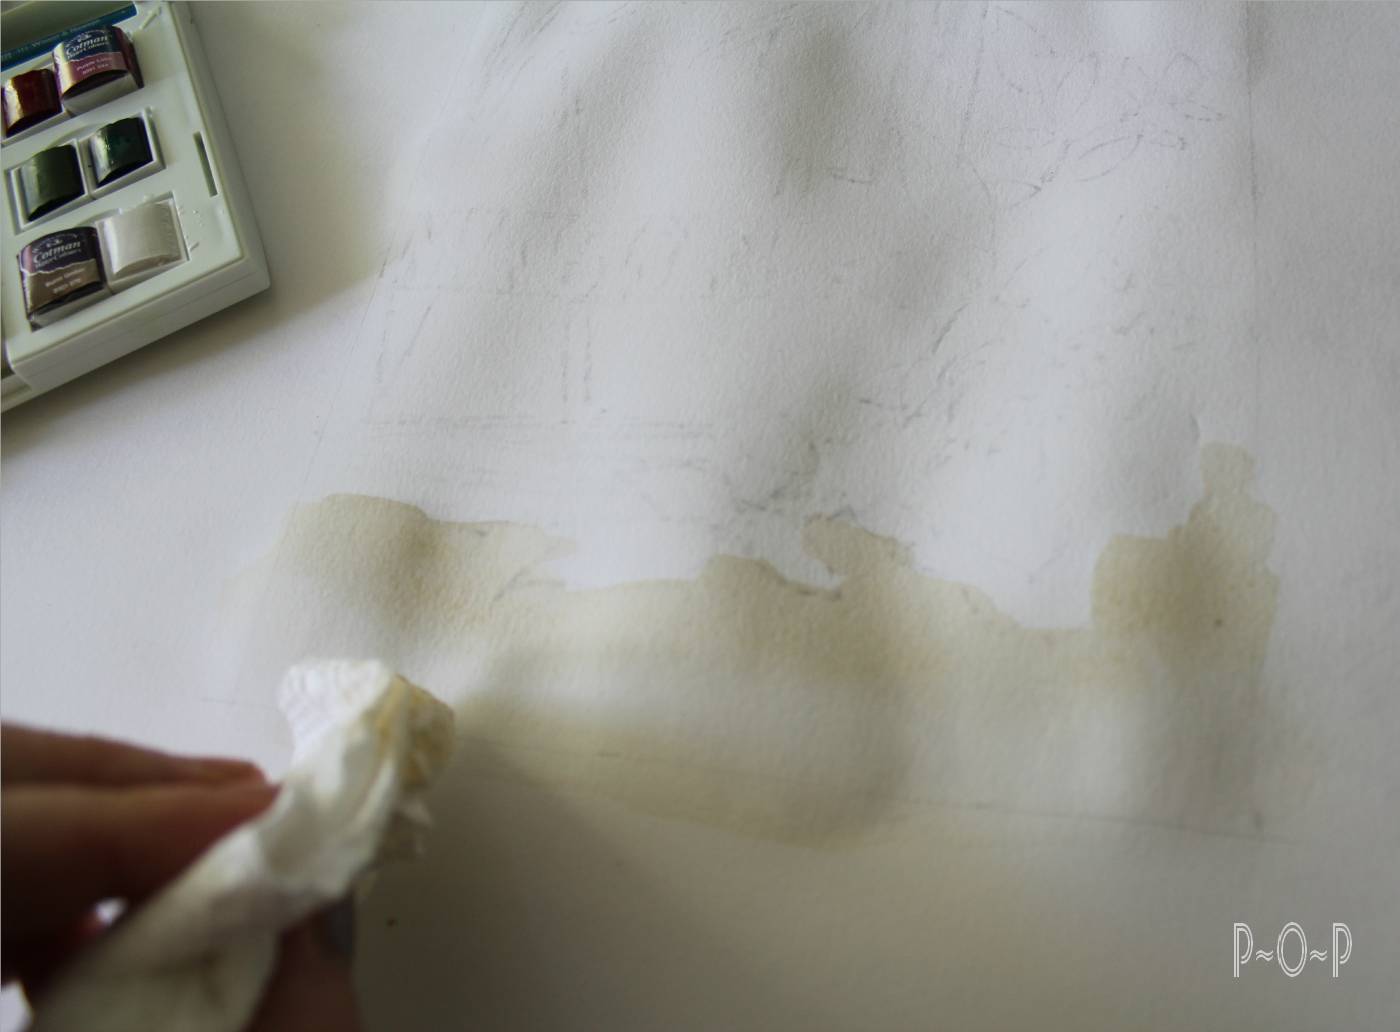
I put a plastic placemat under the watercolor paper on which I had lightly transferred the image from my original sketch. I then taped the paper and the placemat down around most of the edges using masking tape. I found the paper wanted to buckle too much when it wasn't securely taped down as one of the artists had mentioned on Youtube.

I watered down the white and put a wash of this over the top half of my painting.

I then created a light brown with the red and green and watered it down very much so it was a wash under the canning jar and rose.
One thing I saw on one of the videos was how paper towels can be a good friend when it comes to water coloring
Once I had the wash over the page, I began to play with the colors on the back of the lid of the paint set.

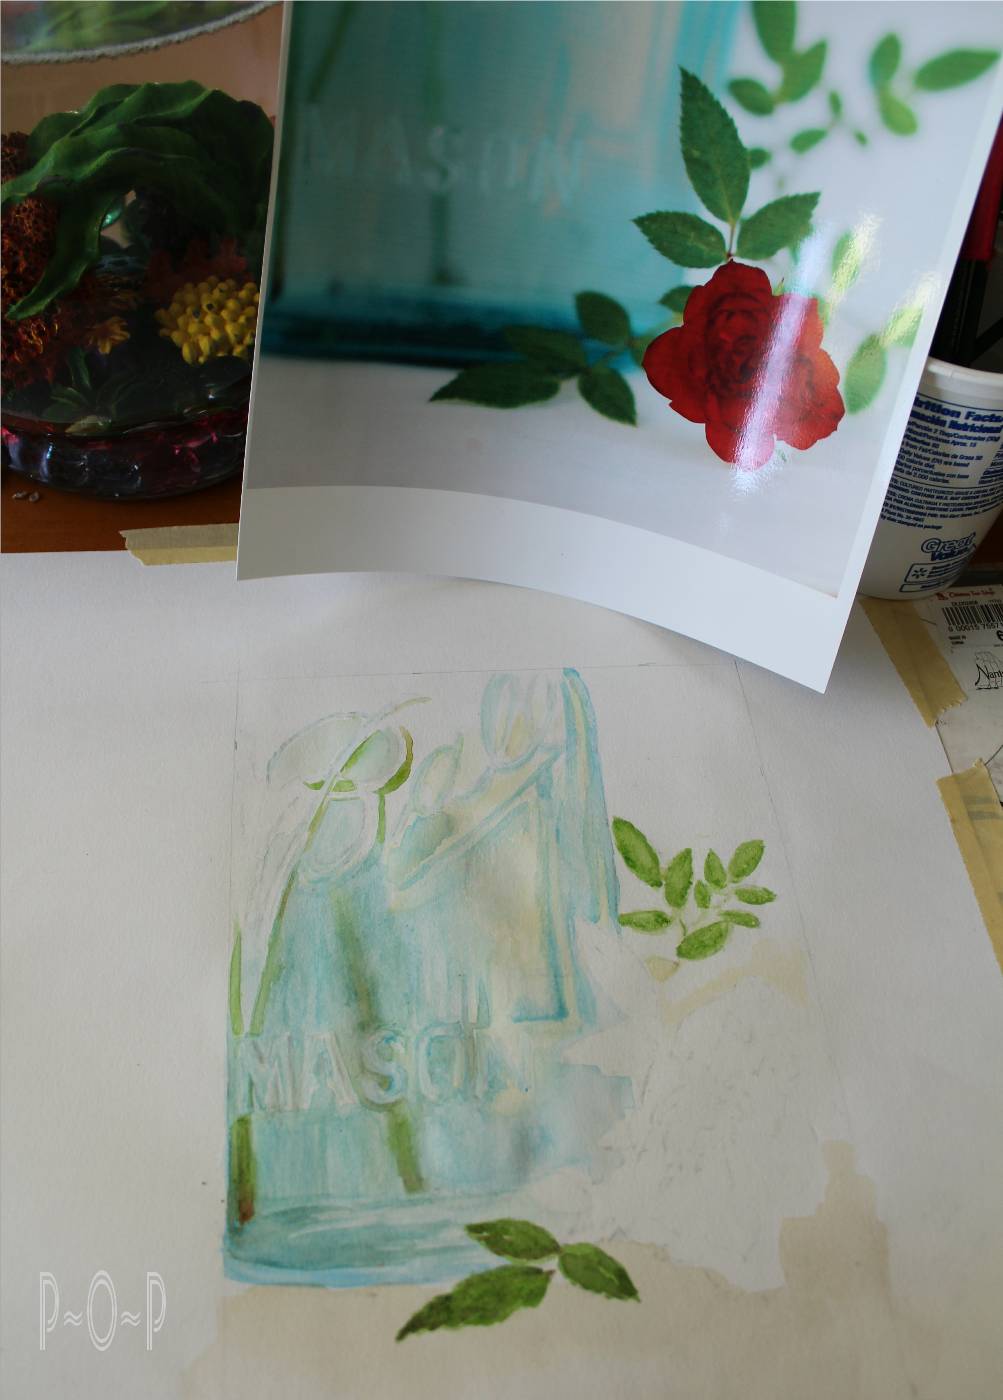
I started with a watered down green, knowing the leaves in the distance and the stems in the jar would not need to be detailed so this would allow a slight margin of error for my lack of experience.

I then mixed up a watered down blue/green trying to achieve the color of the glass jar
and began applying it wherever I felt most comfortable starting.

I created a very watered down gray and used it on some of the lettering where it appeared to be in the photo.


After I had worked on the blue for a while,
I decided to stop and add the very light yellowish/peach color of the light reflections on the glass.
I mixed yellow and a bit of red and white.
I am not sure what created this color on the glass.
Could the rose have influenced this?

Whatever the reason, I wasn't going to argue with the photo and just tried to paint what I felt I saw.

The stems of the roses in the canning jar were resting behind the "B" of the Ball written on the glass,
so this altered the colors in it.

As I worked, I continued to add streaks and color wherever I saw I had neglected it.
I worked as I felt comfortable and that it was an enjoyable progress. I quit work when it felt like it was becoming frustrating.
I stopped at around this point.

I will share the work on the rose and completion of this painting next week.
Have you worked with watercolors?
I found them very rewarding and can see I will want to pick it up and try another painting soon.
To see the next step of this painting click on:
Art Lesson: Watercolor Rose
Art Lesson: Shadows with Watercolor
Sharing at these blog parties:
diybydesign.blogspot.com
Funkyjunkinteriors.net
Lizmarieblog.com
Shabbynest.blogspot.com
Findingfabulousblog.com
Craftberrybush.com
Commonground-do.com
Jenniferrizzo.com
Frenchcountrycottage.blogspot.com
Stamping-ground.blogspot.com
Wearethatfamily.com
Savvysouthernstyle.net
Proverbs14verse1.blogspot.com
it's not so much that you're trying to teach as you're sharing what you've learned, which is very generous and typical of blogging crafters. I like your rendition of the jar, painting glass must be amongst the hardest things to do!
ReplyDeleteyour post doesn't quite fit the criteria for WOYWW...it's meant to be a specific wednesday post..there's an explanation page on my blog. don't let it out you off joining us, it's really not too demanding!
Thanks! I will join again with a post from your specs...I'm always a bit shy to show my working area as I share it with my kids, but I'll be brave next time. :)
DeleteA great why of thinking teaching & all learning things together . Happy woyww Jill #40
ReplyDeleteThanks so much Jill! I'll be by to check out your WOYWW soon! :)
DeleteGreat that you are prepared to teach others as you learn yourself - and for a self-confessed amateur, I love what you are producing. I've worked with oils mainly and prefer the slower drying time. If you visit my website, and look at a previous weeks blog, you'll see that this self-taught pyrographer gave a blow by blow account of creating a design using pyrography.
ReplyDeleteHave a good WOYWW day, kind regards, John-W #58.
Thanks, John. I have not worked with oils, but am so desirous to try!! I wanted to sign up for a class, but it didn't work out. I'll definitely check out your posts!
DeleteThanks for sharing I am also playing around with water colours...even though I am too shy to blog my creations! Zeffy#71
ReplyDeleteThanks, Zeffy! I'm shy about sharing what the rest of the table looked like with all the crafting going on on it. :)
DeleteJust lovely! Your mason jar is so lovely, I love how you can see the Ball on it, very lifelike. I find th at you teach what you learn, and you get a lot of enjoyment out of it, and learn even more. I stamp and love seeing the kids, or adults who want to learn have fun an walk away with a desire to create something. I have WC pencils, crayons, and H2O's, but am not good at it, but love using them on my cards. Enjoy the week!Winnie #79
ReplyDeleteHi, Winnie,
DeleteSo nice you share your stamping. I used to stamp a lot of cards and sold the stamps. It was a fun time. I still stamp some, but the cards you bloggers make are so incredibly nice!
Happy WOYWW! Great painting!!
ReplyDelete-Tera #3
Thank you, Tera!
DeleteAnother enjoyable tutorial~ It is really nice to get some insight into using watercolors -thank you!
ReplyDeleteThanks again, Susan! :) I wish your info would show up so I could see if you are a blogger and could stop by. :S
Deletethat's a great watercolor painting - I especially love the jar.
ReplyDeleteCheers & happy woyww!
Jana #64
Thanks you, Jana!
DeleteGreat painting - I have tried watercolours & have enjoyed them but need to spend much more time to get some skill at it !! Ali #122
ReplyDeleteYes, Ali, never enough time for everything, is there!? :)
DeleteBeautiful, TFS and Happy WOYWW! Danie #48
ReplyDeleteThank you, Danie!
DeleteI thought you were going to paint a can, I mean the actual can! Lovely painting, I wish I could paint.
ReplyDeleteCazzy x #87
HA! I hadn't thought of that! :) I'm sure that would be fun, too! :)
DeleteOh my gosh, this is amazing! I am sooooo not artistic like this, so your talent kinda blows my mind! Thanks so much for sharing!! On that note, I wanted to nominate you for a Liebster award, which is a blogger to blogger award designed to help celebrate small blogs with under 200 followers (you may have heard of it already, but your blog really stands out!) If you're interested, there will be more info available on my blog - goodthingssmallpackages.net - with a few questions to answer before you get to share the love.
ReplyDeleteThanks for sharing your talent, I'm green with envy!