Wednesday, June 26, 2013

Art Lesson: Paint Challenge - One brush, No Rinse Water


Today was a hot summer day, so I pulled out the paints and paint brushes as well as some white paper,
and asked the kids if they wanted to paint.


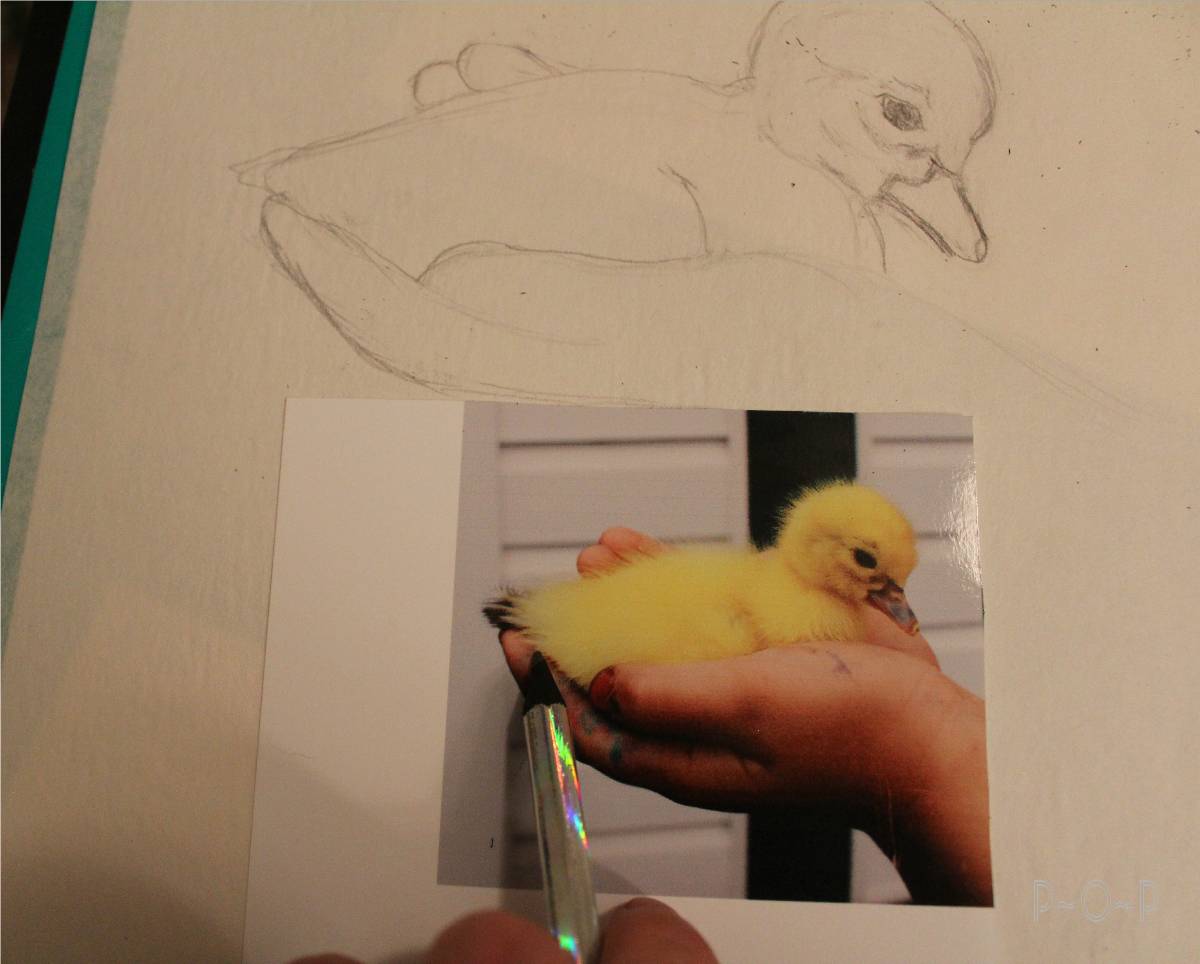
While sitting there helping my son, who tends to get a bit frustrated when he cannot get the image in his mind onto the paper (so I had him draw it first and then paint it, which really helped him achieve what he wanted),
I saw the left-over paint sitting on his plate and picked up the paintbrush.


 My daughter was still working on her masterpiece, so I thought I would try painting her with the colors on the plate and the paintbrush sitting idle.


I decided I would use the paints and not rinse the colors out at all, but use them to blend and work them in.
This is a challenge every artist should try at some point.  It gives you a better understanding of paints,
how they blend and how to achieve colors that you didn't think were possible by mixing and manipulating.


 It was just a rough sketch and I thought I'd share it even though it is far from perfect.

The process was a great learning tool.


Of course, when having to ask the model to "look at me" too many times,
her patience tends to wane.


My son was intrigued by my rough picture, so he decided he wanted to be next.


 I started with the basic face shape using mostly white with very small quantities of red, brown, and yellow.


I then filled in the whole face, noting where the light was hitting and making the features on that side of the face look a little more white.


Not being able to rinse the brush made color switches interesting;
but blending seemed to make them melt into the page.


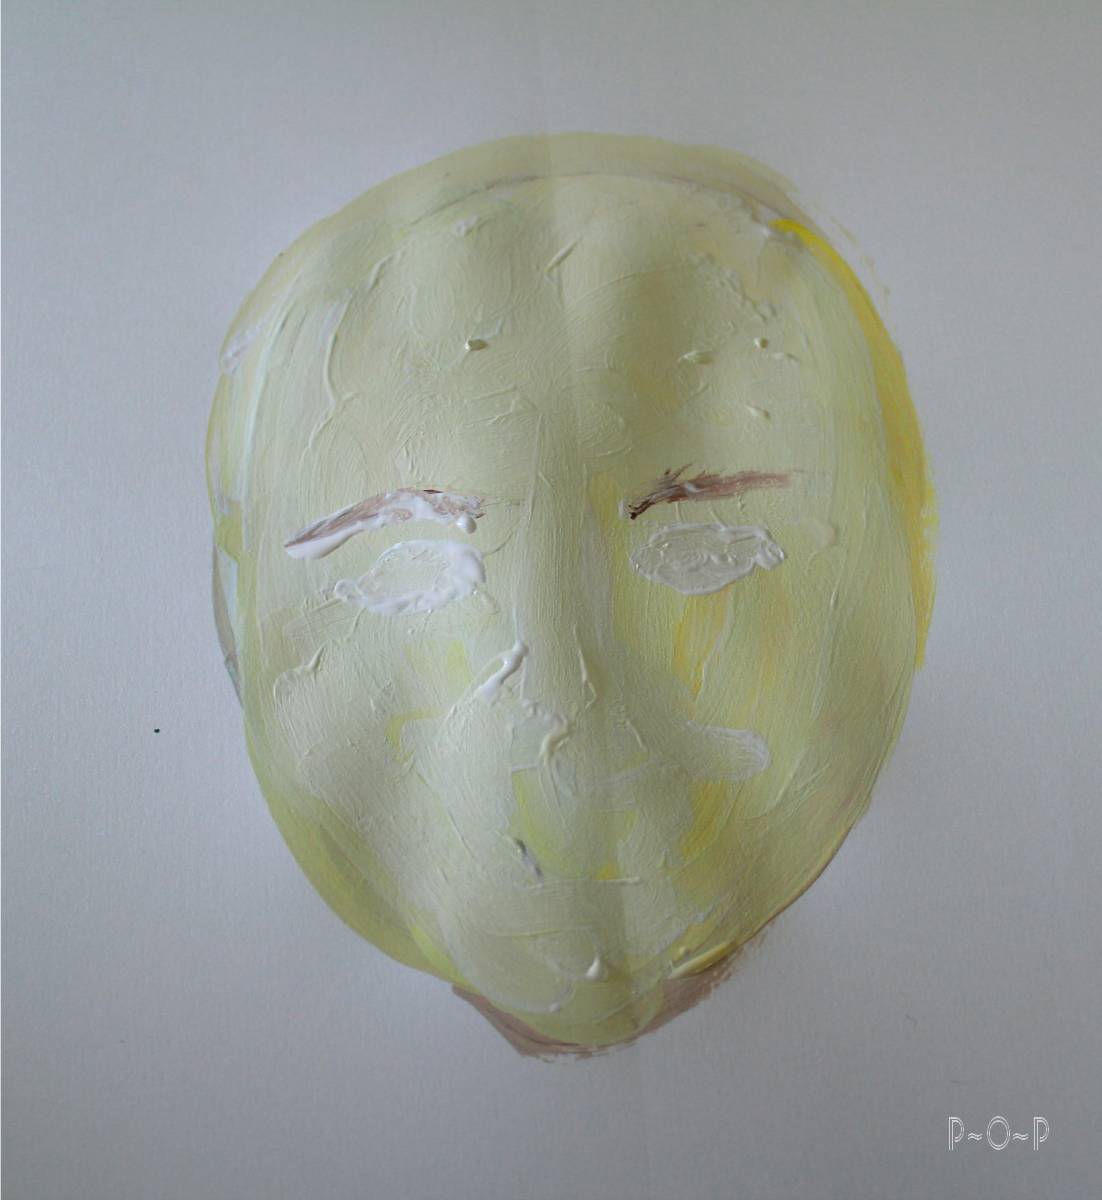
Next I attempted to add just a touch of red for some pink cheeks.


My model was very patient as I spent a bit more time on his face than his sister who had a much shorter attention span.  Still, I am sparing you the many pictures of his uncontainable laughter at having me staring at him.


 I began to try to define his facial features a bit more.  Perfection is not an object at this point; just a suggestion of what I see.


At this point, my son kept peeking up over the table at how progress was coming,
and he demanded to know why I was making him bald, so I turned to adding some hair.


 As I finished defining his face, he began to grow a bit weary of sitting, so we finished it up and decided it was good enough for our bit of fun.


It is not perfect, but it was a fun way to experiment with one brush, a few left-over paints, and a challenge to blend without rinsing colors off in between.


 And I think my son is happy that I finally added some hair to his head.


Your challenge for this week is to pick up a paint brush, squirt a few of the primary colors onto a plate,
and paint an image using what you having without rinsing the brush.

(If you want to feel better about it, feel free to pencil in a basic picture first and then paint it.
Start with the light colors and work into the darker ones.)

I think you will find it fun and very helpful in your understanding of paints.


Thanks for stopping by!


Sunday, June 23, 2013

Recycled Kitchen Canisters: Bright Colors for a Fun Change.


I had a bunch of different clear glass canisters in a corner section of my kitchen counter top,
but something about the way they looked bothered me.

When I saw this set at a yard sale, I knew this would look neater while being useful.


 I looked on the internet and pinterest for canister ideas,
typing in "colorful canisters" and "vintage canister."


There were some fun canister ideas!


 I sanded the wood, just enough to get that shiny gloss off.

Then I painted them with some colors and designs I liked.


After the paint dried, I painted wax on them and let that dry.
I then buffed them.


They fit the spot perfectly and look more orderly than the random variety I had before.


Did you do any fun creative projects over the weekend?

Saturday, June 22, 2013

Free Vintage Illustration: Chicken and Babies?


Welcome back!

Today's vintage image is of a happy hen with her brood of...
ducklings?


We have a duck that hatched out a peep,
so I suppose the opposite could happen as well.

Here is a black and white...
and a brown and white of this old book illustration.


 Here are just the ducks in this image.


Finally, here is a cropping of just the hen.


 Have a great weekend!


Wednesday, June 19, 2013

Art Lesson: A Simple Trick for Re-using a Sketch.


Hello.

Today I am going to show you a trick my art teacher taught to us that I have found helpful on so many occasions.


Our ducklings began hatching out today, and I took some sweet pictures of the fluffy guys.


I decided I wanted to use one of the pictures I took to make a painted piece for our bathroom
since I have a couple of ducks in it as a slight decor theme.

I also possibly wanted to create some cards with the image.

A helpful way to work on an image before sketching it onto the final piece is to sketch it onto tracing paper.

This allows most of the sketching, erasing, proportioning to be worked on until the desired look is achieved.

There are tricks to getting these elements.


This is a sketch I did on tracing paper a while back.
I used a grid on my tracing paper and created the same grid on the picture that I had photocopied and enlarged.

I was able to check out my proportions based on what was in each square of the grid of the photo copy.


For my duckling picture, I decided to skip the grid and just sketch the image,
using my pencil to measure the the length of the hand and then the fingers.


I then used my pencil and measured up the length of the duckling's body and head,
compared to that of the hand and fingers.


From here, I began attempting to place the eye of the duckling, reworking the shape of the eye until I got what seemed right, as well as some of the shaded lines on the face and wing.


 Whenever I felt stuck or confused about what was wrong with my sketch,
without actually touching it, I ran my pencil over the image on the photo on the area I was trying to draw
to capture the shape/angles of the area I was trying to correctly see.


 (Here I was running my pencil over the area of the tail and up and over the thumb.)


I set this image aside for now until I have a chance to work on it again later this week,
giving my brain a rest from it so that when I come back, I will see it with new eyes.
I find this helps me better see what areas of the image may be incorrect.

However, I will not do too much more detail,
perhaps just a bit more of the line detail in the fingers,
and then I will have my sketched image on the tracing paper.

All of my erasing and measuring marks will be on it instead of my final canvas.

I will be able to rub some softer pencil on the back of the image and then transfer the image lightly onto the final canvas, and be able to use that image again if I'd like to.

I will show you the details of this more clearly in a future lesson


Let me know if you have any questions or if something was not explained clearly.


(I had hoped to do more with this drawing, but the subject of this drawing swallowed up much of my time. Looking at them, though, can you blame me?
Watching them with their momma is hard to resist.)


Until next time, thank you for stopping by!

Sunday, June 16, 2013

Clay Buttons


Did you enjoy playing with playdough or clay as a child?
There's just something about the creativity of smooshing up a blob of nothing
and forming a creature or vessel from that lump of color?


Polymer clays are made of a pvc resin mixed with a liguid plasticizer,
which basically means it behaves like clay in that it is moldable with the fingers,


but it is a plastic type material.

It hardens when you bake it.


 There are several different varieties of polymer clays.

Crafts-for-all-Seasons.com shows this picture of different kinds of polymer clays
as well as a good description of them and how to work with them.
source: www.crafts-for-all-seasons.com


(On a side note: I do not recomment these clays for young children since they are plastic and should not be swallowed or chewed on.  They are also much harder to manipulate than play dough, so I think this is better for older children or teenagers...and, of course, adults.)

If you would like to read more about the different kinds, I find Dick Blick has helpful information for this.

Another thing I have learned is that if you want a shine on your clay piece, you need to purchase a specialty polymer clay sealer.  The chemicals of plastic can react to the chemicals in different sealers, breaking down the clay, so it is beneficial to use a sealer that is made for sealing plastics.


 Amazon sells different polymer clays, and the reviews to be found are always my favorite part about Amazon: customer reviews are a great source of help and knowledge.


I enjoy creating with polymer clays; one thing that is fun and rewarding to make is buttons.


 Mixing different colors together and letting those individual colors remain somewhat unblended with the other colors gives a marbled look.


Before baking them, it is important to put holes for the buttons, or add a clay or wire piece to the back for a button loop.


I use a toaster oven to bake my pieces; this toaster oven is only used for crafts as it is highly recommended not to use anything with this clay that you will use for edibles after.  It is also nice to be able to set the toaster oven in a place that is well ventilated because the clay gives off a very strong, harmful odor of plastic burning when it is cooking.


I like to use my buttons on scarves that I create.  
(I have a yarn addiction and purchase most from yard sales
and then mix a couple threads together for a unique look.)


Rather than make the buttons for actual use, mine are decorative,
and I use a snap for the scarf's closure.


 The possibilities of this clay are endless: earrings, ornaments, etc.

However, today I am just showing you buttons.

I found this fun etsy shop of fantastic buttons.
I thought I would share them with you; the creativity is just so amazing!


The artist who created all the amazing buttons I am showing you here today has a shop on Etsy.
 Judi creates such fun buttons with polymer clay,


 Digits Designs is the name of her shop.
 I have a special fondness for these.


My son would adore these...


and these!


I can't show these to my daughters or they'll be begging.


Here are just a sampling of the dozens of great designs this artist offers,
and the prices vary from $3.50 to $14
(There are some higher prices in the shop,
but those are for fun ornaments and other creative items).


These are "Pick your pooch" buttons:
you get three buttons of your choice of dog.


Stop by this shop for even more fun ideas
and think of Judi next time you want some buttons that really speak for themselves...
and make everyone who sees them smile.
Judi is one fantastic polymer artist!


 Oh, aren't these fun?!


Have you ever tried polymer clays or have a certain clay that you prefer?
I'd love to know.

Also, if you have a fun creation you make and sell,
let me know and I'll see if it fits with this blog and feature you sometime
when I share weekend projects.

Thanks for stopping by!