Showing posts with label farm scene. Show all posts

Saturday, April 4, 2015

Sketching Several Photos into One Piece of Art: the Farmer and the Horse.


  My house has been busy with several projects lately, and I thought I'd stop by to share one of them today.

   I was asked to do a piece for a lady that would be done in pencil.  Her husband has told their children stories about a farmer and his work horse and she wanted for me to create an image to remind them of those story times with him.  She wanted the man to be indistinguishable, as we all know how we form pictures in our heads when we hear stories, and she wanted each child to be able to keep their own ideas of what he looks like.

We looked up some images on Pinterest to try to get a working idea together, and I began to use these as basics of what to work toward.  (I will suggest if you like horses, type in 'work horse' or 'draft horse' on Pinterest...there are AMAZING pictures of them!)  I found several photos ideas for the farmer and the horse.

  I started by measuring out and drawing a box in the size that was wanted for the image to be.  This gave me guidelines of how large to make the sketches.


I spent a considerable amount of time sketching the images onto tracing paper.
(There were more eraser crumbs on that page than is probably legitimate for one piece of artwork!)
Often, I would stop and take a picture and then walk away, come back, and look at the picture in the camera.  Something about doing that makes me get a clearer perspective on it.
I could see in the image above that my horse's nose was off from what a work horse's nose should be.


In this sketch, I could see the horse's eye not right, and the man was a bit disproportionate as well.


I finally got a sketch I thought I could work with,
rubbed charchoal on the back lightly,
and then traced over the front drawing lines so the image would go onto my good paper.


I then began first with the eye of the horse.

When that was where and how I wanted it, I added some detail around it.


I did not mind that my horse was not exact. I wanted to take some artistic license as to the coloring and the angle that the horse would be approaching the farmer because I was using a few different photos to create the image I was trying to achieve.  The photos were just used as guides.


Here is a picture that shows you the light sketch that was transferred of the whole image.


I continued adding more details to the horse.


At this point, I realized I did not like what I was seeing in the nostril/chin/lower muzzle shape of the piece, so I set it aside to pick up for another day.

I will do the same now and will show the pictures/progress of that part in my next post.


Thank you for stopping by!


Wednesday, March 19, 2014

Art Lesson: Watercoloring the Tractor Sketch.


Hello, friends.

A couple weeks back, we went through the process of sketching up some tractors.


This was the picture I was sketching from.


Today I wanted to share the process of using watercolors to paint the dried, inked image.


First, I used a mustard yellow wash to fill in the ground


and a lighter yellow on the tire hubs and the tractor.


I then added a green wash to the tractor and to the farmer's shirt and cap.


Next I made a very light gray wash using red, blue, and green and began painting the tire...


and loosely painted a background of trees.


I could see that there is three layers to this field:
the forefront layer that has a grassy look,
a cut layer of grass,
and a distant uncut stand of grass.


I made a green wash to paint the uncut distant grass.


I finished shading the tires, the exhaust pipe, some touches of black on the tractor,
and the piece of farm machinery being pulled by the tractor.


Next I decided to create the grassy front part of the field by loosely painting streaks of green,
some darker than others.


To created a faint look of cut grass for the layer of field behind the tractor,
I painted a wash of green and then painted swatches of a reddish green lines
and then dabbed them up somewhat with a tissue.


I create a division of the cut grass with the still standing grass in the background by painting a line of darker greenish red with strokes going up loosely, like grass would grow.


To darken the background trees, I first made a reddish black,
almost a purple, and did a wash of that over a section
and then went over it with sections of green.


Once this was complete, I changed to a very light blue wash and started the sky at the top and worked down toward the tree line.


I made a skin color with orange, yellow, and white and used a wash of this on parts of the farmer's face and arm as well as the child's face and legs as they stood out in the picture.
At this point, I also used blue on the farmer's pants and child's clothes with this same selective area painting.


Using some dull gray left-over from the tree background in the paint tray,
I put some shading in the yellow tire hub.
I also touched a few areas on the tractor with a reddish green to lightly shade areas as needed.


At this point, I sat back and looked at the painting.


 Something about it was not right to me.


I felt like the child's head was too small for his body.


I had a choice to leave it or try to fix it.

Perhaps I should learn to leave some things as they are,
but I couldn't let this one go.


I mixed some white, heavy on the brush and enlarged the head where I could see there was a white patch in the picture.  I added some blue, some brown for the hair, and a curl of dull white for the ear.


 I decided at this point it was good as it was and that I had better stop painting.


I painted this for my husband for his birthday as a checkbook cover.
(A plastic, clear cover that I found through a craft catalog years ago,
something similar to the one at the end of this post.)


Although this isn't perfect, I am enjoying learning to work with watercolors.
It is a rewarding working with a paint that you enjoy.
 I am glad the painting turned out in a way I feel happy with on a gift for my husband...
he deserves it. :)


Thanks for stopping by!


(I have added a few advertisements to the side of the blog for those who want to know the products that I use or think are useful... just trying to be helpful.  Of course, if you purchase anything from the links, I will be paid a little something, which is always helpful in funding my home and art supplies,  a helpful gesture! :)
(If these ads are annoying to you as you read, please let me know, and I will see if I can put them on their own separate page of the blog. ) 
 

Linking to these parties: Jenniferrizzo.com,
 

Wednesday, August 21, 2013

Art Lesson: How to Paint a Wall Mural


Hello.
I am back today to talk about murals.


Wall murals can seem daunting because of their size,
but really, depending on the detail you want and the size of the space you are painting,
if you break the mural down into bits, it's not such a hard thing.


Here is what I do when I am planning a mural.

First: deciding on the mural you want to paint.

I have a confession.
I am a magazine mutilator.
Yes, I know, it does seem harsh to tear up beautiful magazines.


I have collected an assortment of pictures of images that I like over the past 20 years.

I have different categories of images I keep: favorite artists,
painted landscapes, painted birds, snowmen, rooms I like, farm scenes, farm animals, flowers, still life, borders and designs, fruit, painting tips, folk art, Christmas ornaments, Christmas decorating, 
and several other categories,
one of them being mural ideas.

  Keeping images for years can definitely become a pack-rat issue, so I try to only keep images that shout out to me and make me swoon.


Some images I keep because I like the style in which the buildings were painted;
or I like the way the trees were painted.


Like the wall mural in the picture above, I loved the fern style and put some of them on my wall mural.


Sometimes, I like the way the land is painted, the landscape and the layers of fields.


Adding fields of trees doesn't have to be extensively detailed and time-consuming it they are in a big mural where precision and care is spent on the scenes that are supposed to be more dominant.


It is great to start an image notebook to keep ideas that sing to your heart
or that you think you may find a useful help to you.


Once you have the general idea of what you want for your mural,
pick a basic wall color to work with.
At first on my mural, I painted the walls with a light blue,
but I did not like the way this looked for this space,
so I went with a banana cream color.
This color worked for the look I wanted, even as the "sky."


I remember when I decided to paint my wall mural,
I had a subscription to a painting magazine (I think it was PaintWorks) and there was a tutorial on how to paint a water mill.  I knew I wanted it on the wall.


It would be one of the main "art" portions, with more detailing spent on it.
I then had to decide where I wanted it.

When trying to visualize how you are going to paint your wall mural,
it is a good idea to grab something that washes off easily, like a charcoal pencil or some chalk board chalk (if your wall is white, sometimes the charcoal can slightly stain it, so I would suggest instead to use a piece of lightly colored chalk board chalk.)


Roughly sketch where you want to place your main objects on the wall.


When you know the type of landscaping or if you will add any other buildings or trees to your scene,
sketch them in.


If you don't like what you see, simply erase with a damp rag or paper towel.


Adding height to a mural, by placing a tree in the scene, makes the mural appear to have more dimension,

 as if the house is far away and the tree is closer.


Experimenting with this idea is great fun.


I remember when I was planning my mural, at first, I drew in taller trees,
and more of them.


I decided it was too busy, and cut them down in size and limited it to one tree at the top,
and one a little further down
and then a couple of trees that appear to be in the middle section of the landscape.


I put a fuller tree on the right side wall,
as well as some taller mountains.


This seemed to look better to me than making the trees exactly the same height on both sides,
giving it some diversity.


Working out your mural's background is completely up to your taste.

If you don't like the way a line is going,
simply wipe it off and try a new line.


The fun thing about murals is that they are a collection of pieces of artwork that you mend together.

Once I have my sketch the way I like, I can begin adding color to it.
I put washes of color, watered down colors that are light but not so wet that they drip.

Once the washes dry, you can be as detailed as you want.


or as simplistic.


To divide sections of land, which are just washes of different colors,
I would put a row of trees blocked in with very little detail.


This occasional tree or tree line helped me feel like there was more variety to the divisions of the fields.


If a person feels uncomfortable painting the detailed images of  mural,
 one could always use the transfer method to help.


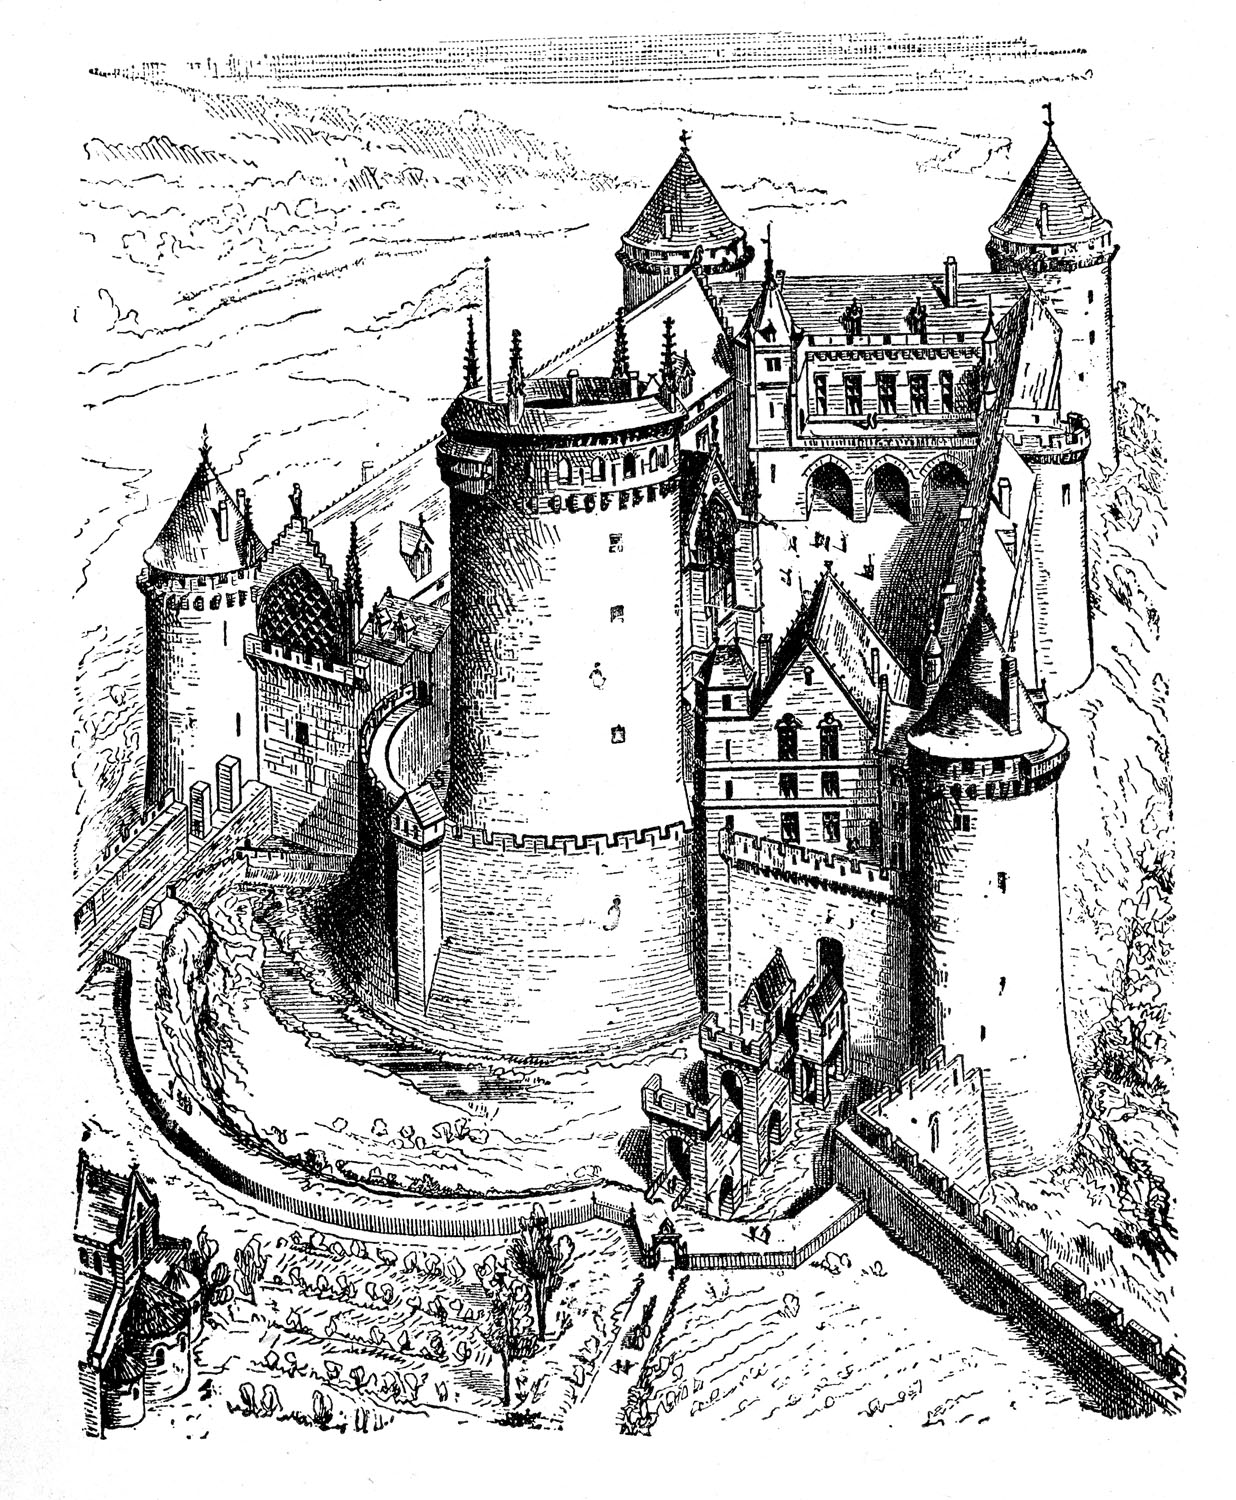
For example, if my daughter wanted a castle scene on her wall and I was not having success with a castle, I could always enlarge and print up this one that I love from the Graphics Fairy.


(I explain how to transfer and enlarge images onto Word Press if you click on <THIS POST>)


After coloring the chalk or charcoal pencil on the back and it is taped to the wall,

the parts of the image wanted on the wall are traced.


A desired landscape can be added.


A larger image can be used to give dimension.

My daughter would choose this one:


(Yes, I know he looks a bit out of shape.  Looks as if the Princess needs to work him more).


My son was watching me coloring on the wall with a bit of consternation,
but then he wanted a mural for him.


Anything is possible with a wall as a canvas.

And the great part of it is,
if you don't like what you have done, or if you someday want a change,
a coat of paint or two will wash it all away.


I hope this helps give you some ideas if you've been think about a wall mural.