Showing posts with label paint. Show all posts

Friday, October 9, 2015

The Painted School Rug

We moved this summer...
the cows, the chickens, the ducks, the dog and cats, the bearded dragon,
and the people.

Of course, with moving comes new rooms with new needs.

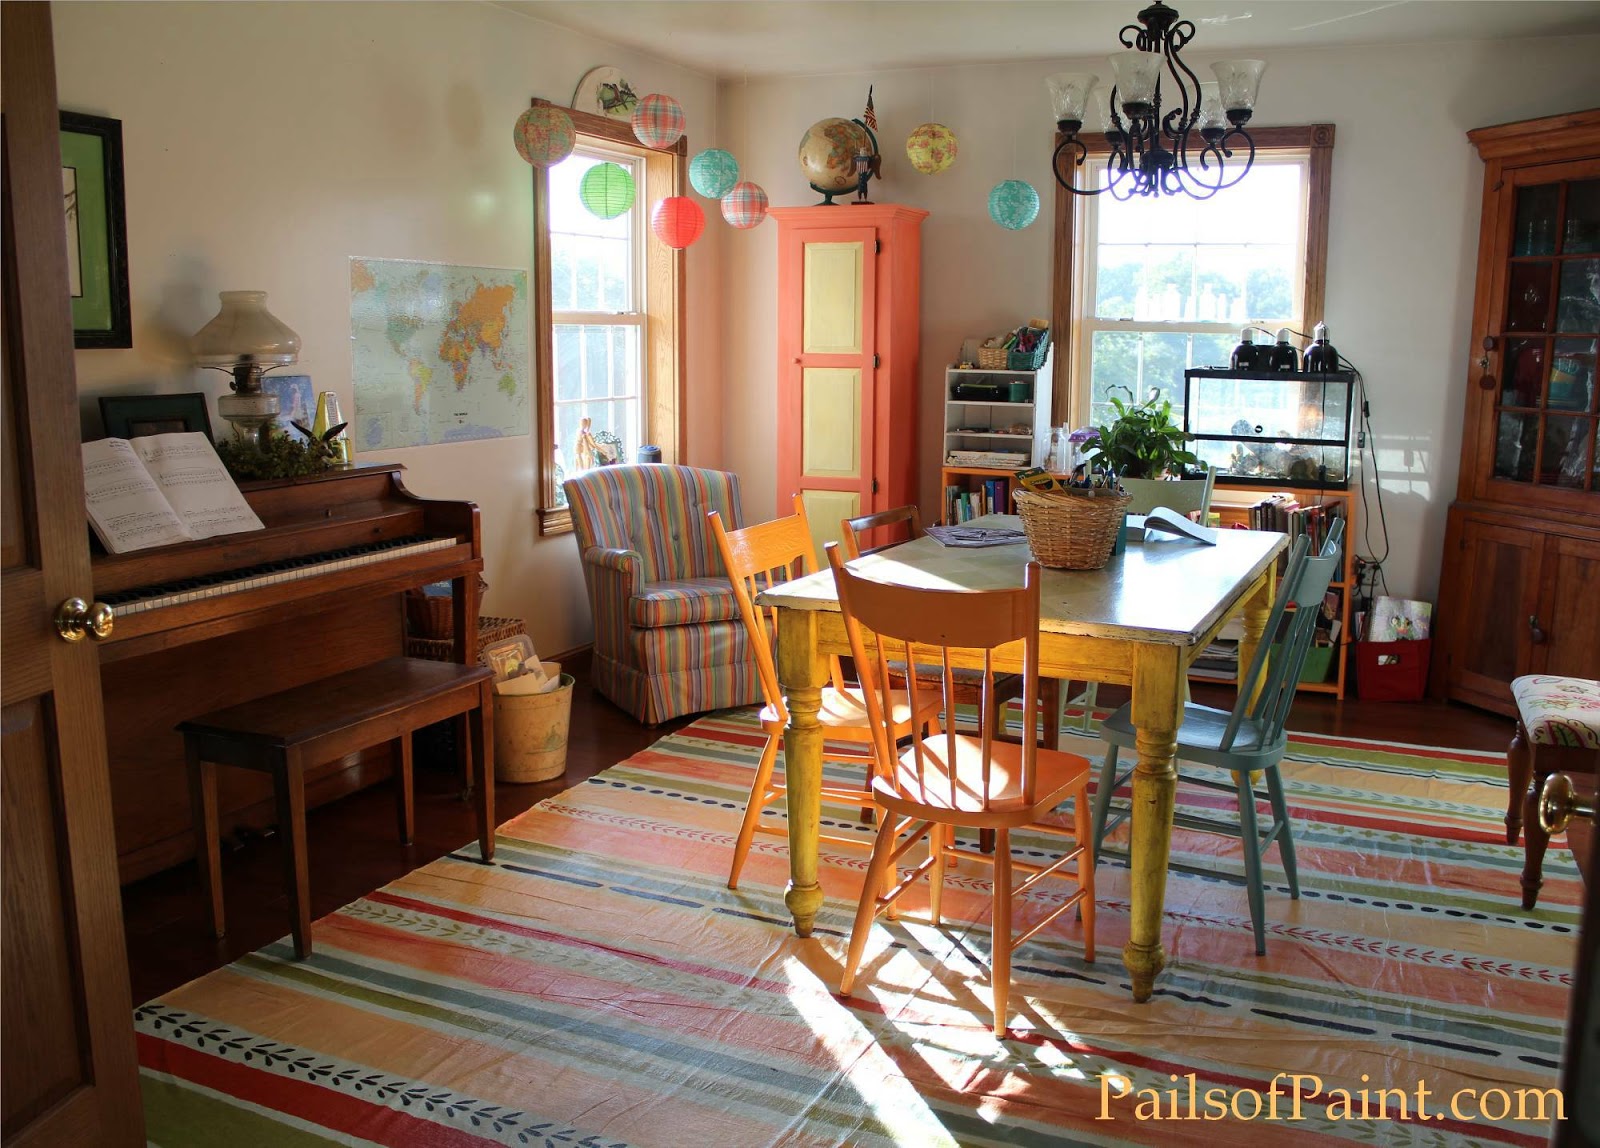
The school room has beautiful new wood flooring
and my kids are students of various ages and mess-making ranges,
and I knew paints and play dough was still in our future.
The price of large rugs was a bit too much for my budgeting,
besides the fact that rug isn't always the best choice for paint or play dough either,
so I read up about painted cloth rugs and decided it was worth a try.


I bought a  9 x 12 Heavy Duty Canvas Drop Cloth  at the hardware store for about $27.
I laid it out on the living room floor since there was enough room there to work.
I put plastic liners underneath (I think I had an old shower liner, cheap party table cloth, whatever I could find to fit the purpose).

(Tip: if I were to do this again, I would iron it and sew the edging under to give it a finished look before laying it out to paint it.  I made the mistake of thinking the wetness of the paint would draw out the wrinkles, but it did not completely; I also thought I would be able to do the edging after the rug was complete, but also not an easy task once the layers of paint have added their bulk).

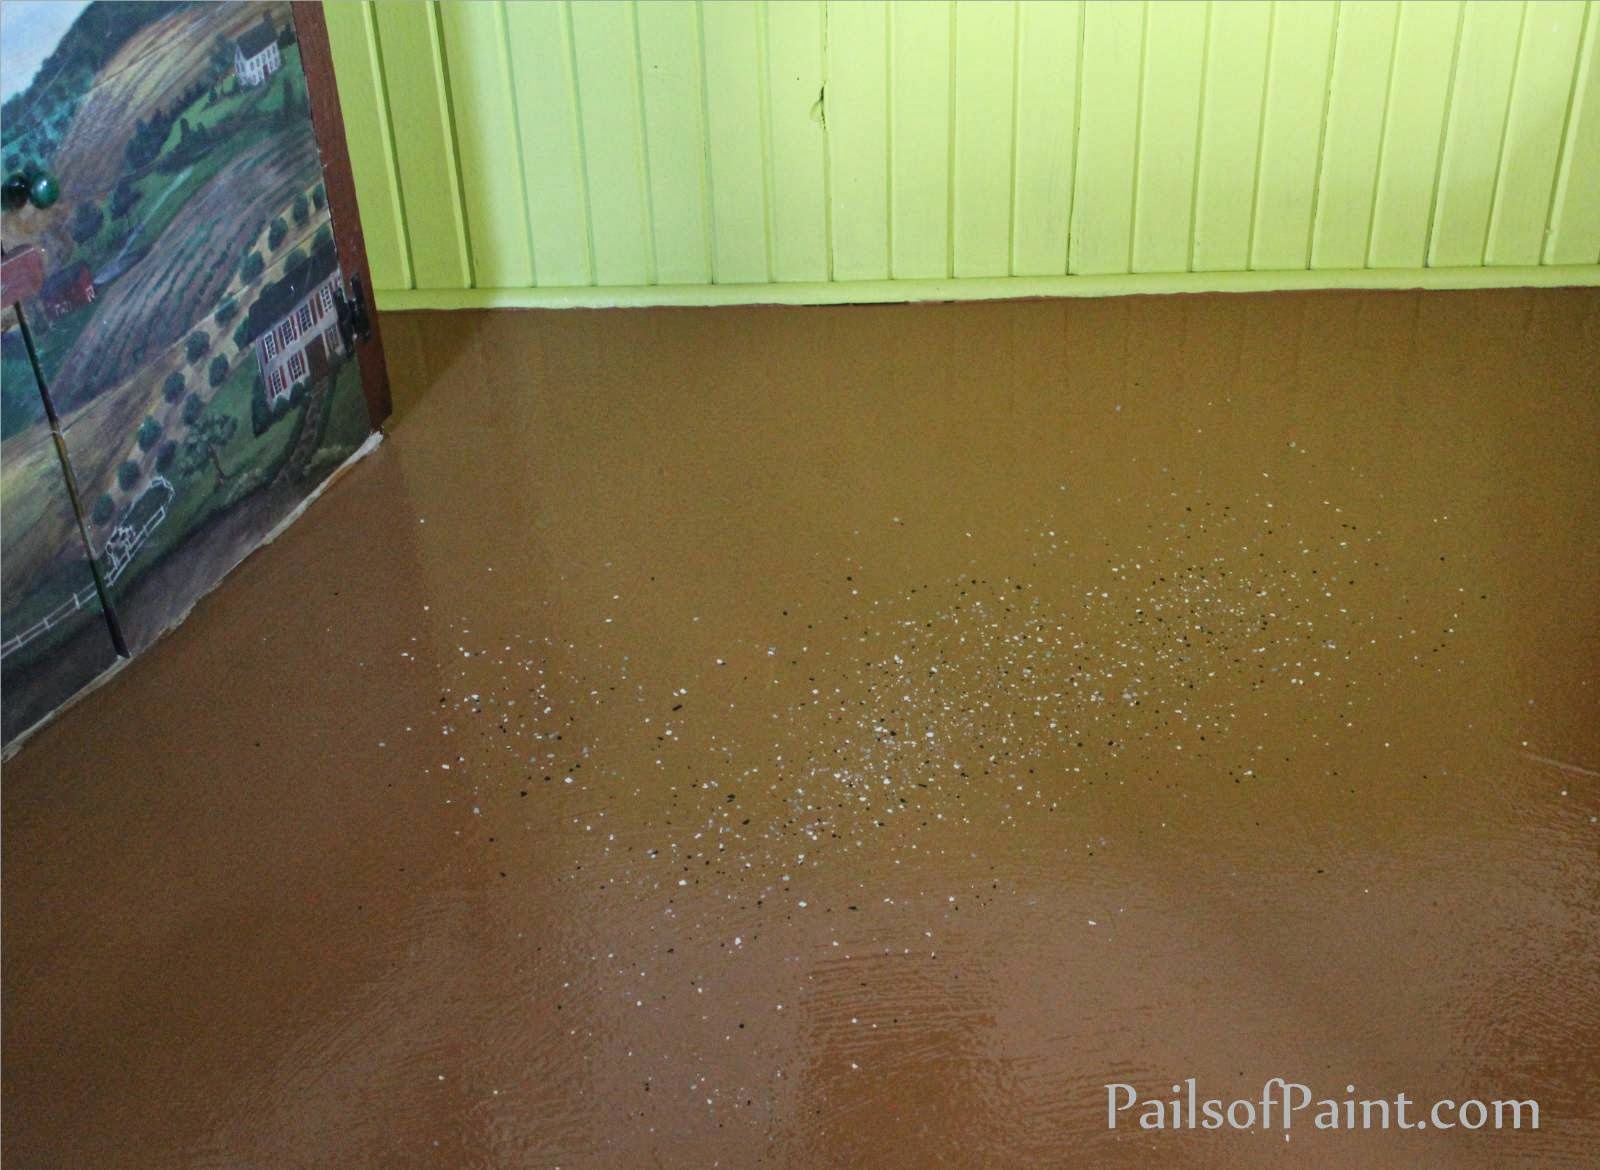
I then painted a base coat of flat interior wall paint: whatever I had left from the old house.  (This is a great way to get rid of old paint you don't want to store any more.)
The color was a dull greenish gray by the time I had mixed all the left-over colors together.
I think it would have been even thicker if I had done another coat,
 but I used up all the paint I had and didn't feel like buying more, 
so, once the base coat was dry,
I moved on to painting a coat of off white semi-gloss interior wall paint as the base color of the rug
(I don't think it matters whether it is semi-gloss: it is just what I had already).
The off white paint was allowed to dry.


The fun part of painting the colors on the rug came next.

I looked at rugs I liked on blogs, pinterest, magazines, and finally decided on a variety of stripes and designs.

I was in a hurry to get the rug done, so I just painted the stripes on without any guides,
also using house paints that I wanted to use up.
When my daughter kept telling me she really wanted to help,
I pulled out the frog tape and laid out a few guides so she could paint some stripes. 
This was a school rug so perfection was lower on the grade than creativity.


She did a great job, it helped speed the process up with both of us at work,
and we both feel good about the rug we made.


Once the rug was colorful from end to end and dried completely,
we dragged it out on the porch since it was a sunny day
(we brought the protective plastic for the edges).

I then painted water-based polyurethane in a nice thick coat over the rug.

It dried quickly and I was able to put another coat on a little later that day
(I used about 2 1/2 quarts of polyurethane).


 It fit perfectly in our new school room.


The rug has already gone through a spill of paint, some squished in play dough,
and a birthday party mishap of spilled nail polish.

Amazingly enough, I have been able to mop the rug as I do the rest of the floor,
and the paint came up, the play dough has been removed,
and the nail polish blends pretty well with some of the stripes.


For less than $100, we have a rug that works well for us in our busy room.


 Thanks for stopping by.
I really do hope to be around a bit more now that the past 6 months of packing, cleaning, clearing, sorting, and settling in have finally passed and I feel like I can breathe again.

I am so ready to have some art time back in my life!

What have you been up to lately?


Saturday, February 14, 2015

A Valentine Love Renewed: Recycled Crafting.


HAPPY VALENTINES DAY!


I wanted to share one more valentine decoration before the day passes by.


Frames seem to be a weakness of mine.
When I see them at yard sales or second hand stores,
if they are unique and sturdy,
 I tend to want to pick them up for future projects.


 This frame held a unique piece of artwork: a paper crafted quilt (maybe paperclay?)

It was dated.
 It reminded me of when my sister loved making quilts back when we were teenagers in the 80's.
It was hard to think about just throwing it away,
so I thought I'd try to revive it for Valentines Day.


Using markers, I started carefully changing the quilt colors.
(Wouldn't it be nice if we could do this so easily with real quilts when they fade or our color scheme changes?)


I also painted the mat and background bright colors to go with our living room.


The finished quilt in a frame was set on one of the living room tables.


This addition was a lot less work than creating a new piece of artwork;

and it is kind sweet to think that somebody else's lovingly created piece
is given a second time around to be loved.


Thanks for stopping by!


Monday, March 17, 2014

Simple Tricks to making a Room Better.


Every winter when we are all stuck inside, projects seem to pop up in the house.

 
I have hated our basement for a few years now.  It is the first room one generally walks into when arriving at our house, and it has needed renewed attention for some time.

This winter, I noticed a trend going on with the kids:
run into the house, dump the coats, boots, hats, and gloves all across the floor on the way to the wood stove.


I wished for a closet to help coral these things and give them a proper place to disappear to since the over-sized rubber maids I had for them couldn't seem to keep them very well.

I asked my husband to use his talents and build something for me.


He found some doors from somewhere where they were no longer needed, and then purchased some cedar boards off of Craig's List. (He figured the cedar might help prevent the spiders and millipedes from hiding in there so much, since basements seem to be their favorite place to be.)


This little closet has been the best addition for the basement.
(Thank you, Farmer!)
We now have a place for all the shoes/boots/and coats (can't you tell by the boots lying NEXT to the closet? Well, most of the time they make it into the closet; the youngest of us still needs some help remembering sometimes).

I painted a sealer over the outside of the cedar boards and then painted them with paint.


Another thing I did to renew the basement was a new coat of paint on the walls and woodwork.
My daughter and I picked a bold green called Lime Green to color the woodwork,
changed the cream walls to a brighter linen white,
and chose a brown paint that would be great at hiding some of the dirt for the floor.


I also painted up this piece of furniture to hold all of the videos and other supplies that seem to spread around the basement.
(This has been so much better than the open cubby storage unit you can see in the first picture.
Videos sitting around are such an eyesore and tend to grow into teetering towers.)


I had painted the floor when we first moved in ten years ago:
cream flooring in a basement entrance on a farm.
Let's just say it wasn't my brightest idea when it comes to a painting project,
(and this picture is right after I scrubbed it on my hands and knees, changing the bucket several times.)

This dirty floor has been a matter of constant irksomeness right from the start
(I painted the walkway and on into the laundry room with a brick pattern a few years later to try to make the floor bearable.  Athough time-consuming, it did really help, but the rest of the floor just never looked good).

If I had known how easy this method of adding paint chips to a painted floor was going to be,
I would have done it long ago, and I wouldn't have bothered with the 'brick' floor in the laundry room either.
I purchased a good quality cement flooring paint from the hardware store as well as some paint chip sprinkles.


After I painted a 6' x 4' section
(large enough to still reach by tossing the sprinkles, but small enough that the paint was still very wet),
I stood and tossed the paint chip sprinkles into the air.


They fell in random placement.
I kept adding more thrown sprinkles until I got the coverage I wanted.

The flooring looks so much better; I only have half of it done at this point, and can't wait until it is finished.


One other small change to the basement was a simple painting of the woodwork around the windows.

I find that I prefer that woodwork to be the same color as the walls.  This creates a more open look, no division of wall and window.

(Because we have the deep window sills that are more like a shelf, sometimes I also do the sill the color of the walls; but sometimes I like the sill the color of the rest of the trim and woodwork.)

Painting the frame around the window was something I did to all the windows when we first moved here as well, and have slowly changed them over.


Here is the window with the colored wood frame in the green that it was;
(the sill has already been changed to the lime green color).


Here is the difference.


I was thinking about making some curtains but then opted for some simple lace ones I found at a good sale.


Another update to the basement walls is a wall of family photos.
I had a habit of buying frames for a while from yard sales and charity stores and decided to put them to use and make this place (where the kids tend to watch videos) a wall of memories.


The closet got a coat of the lime green paint, and I painted the door a bright, cheerful red.  The floor already looks so much cleaner, the speckles helping to hide the bits of dirt that come in on the previous battle field of  "can't EVER keep that floor clean."


I still need to put a second coat on one of the walls,  finish the other half of the floor, finish framing a few more pictures, a couch redo or replacement, and a couple more touches before the basement is complete, but it is looking so much better already.

I can't wait to be able to post the final results in the coming weeks: I'm determined to have it done before April.


It's always amazing to see the wonders a bit of well-applied paint can do, and learning what one likes over the years can help to turn a cluttered-feel house into a better home.


Thanks for stopping by to hear about my work in progress.


Wednesday, February 26, 2014

Art Lesson: Painting Vines, Leaves, Flowers on Furniture.


Hello!

Last time I showed how I got the veneer surface off this piece of furniture.

Today for the art lesson, I am going to show a simple vine, leaf, flower combination I have painted on tables and chairs and other surfaces that I have sold.


Each person has their own style and ability, so I am sure there is a million ways to do this.

Here is how I went about it.


First I measured the top of the surface I was painting.
 
This, generally speaking, is the hardest part for me,
trying to figure out exactly how many inches to put in each section so it is even.
Eventually, it gets figured and I step back and look at it to make sure it looks like it is supposed to.

I used chalk to lightly draw the lines.


 Once I had the lines right, I started laying down the Frog tape.

(Frog tape works great because it makes a very clear edge without bleeding
and without pulling up the paint underneath).

I find this can be tricky because there are two sides to a line so one has to either lay the tape right down the center line or choose one of the sides to lay it on.

When chosing a side to lay the tape on,
there are points the will have to be adjusted,
such as the smaller squares on the inside of the larger ones here.

I just add a slight layer of thickness because I felt the squares would look slightly off if I laid the tape right down the middle.

Of course, there is probably some mathematical way to fix this,
but I figured my vines and leaves once painted would hide any slight differences.


 I gathered the acrylic paints that I needed and mixed up some brown for the vines.


 For the vines, I begin painting "C" shapes and curly cues in a grouping.
I have found that less is better because if it seems empty later, more can be added.
Too much is harder to remedy.

 (Some of the vines are more red and some are more green, depending on how well I mixed the paint together, but I don't let that bother me too much...
I tell myself it looks more realistic if the vines have variation of color.

Please tell me I am not the only one who talks to themselves while painting.)

 Next I take a light green and randomly paint leaves along the vines.


 By the time I get the leaves done,
there are usually some dried ones to start with when I am ready to paint some flowers on.

For flowers, I start with a circle of dots for the petals.

Once the petals are dried, I go back and paint in the centers,
yellow or orange or a dirty yellow brown for some.


 To give the leaves dimension, I go back with a slightly darker color green and dab a little in the center or to one side of the leaf on some of the leaves.


I step back and look as I work, adding more vines, leaves, or flowers wherever I think some are needed until it looks done.


 After waiting twenty-four hours, I then take a rag and dampen it with stain.
With gloved hands, I wiped it onto the surface.  I then rubbed it around,
 being sure to cover the entire surface and edges,
and then wiped it off.

I sometimes use a brush, but this usually gives a much darker look to the stain,
and I wanted a very light look for this piece.


This piece is going to be used to hold all the videos and DVD's we have for the television.
 I love how they stack up so nicely on their sides and are easy to locate and to put back.


It is nice to see some progress in this room and this piece really gives some good storage and charm that the pressed board book shelf that was here before did not.


Here is a video of painting the vines, leaves, and flowers
if you are life me and enjoy watching things done
(Sorry about the jarring ending...I am still trying to figure out the videoing on my camera).


Thank you for stopping by and I hope you have some fun renewing a piece of furniture or something creative for your home or room or wherever you are.


Sharing at these blog parties:

Tuesday, December 3, 2013

How to Make Rusty Christmas Bells...without Rust.


 ~*~*~*~*~*~*~*~*~*~


When Christmas time comes around, it is always a pleasant surprise when I head up to the attic and find the grape vine wreaths that were twisted into form from the orchard
(the years that I actually take the time to do them, of course).

I worked 4 of them up and was happy when they all sold over the weekend at the craft sale.

Here is one I decorated with some shiny red bells I purchased at an after-Christmas sale.


The assortment of bells I had were a variety of red, gold, and silver,
just the generic type of metal color.


I wanted some rustic bells for some of my crafts,
so I decided to paint the ones I had to make them look rustic.


Here is the process:

I mixed about 1 Tbs. of Plaster of Paris with about 1  1/2 Tbs. brown paint and splashed in about 2 teaspoons of water. 


The texture of the paint should be very thick.


 I added a bit of red because my brown looked a bit too dull for a rust color.
(I also did a second batch of bells with a little more red, to give variety to the coloring).
 

 (If the paint seems too liquid, adding a little Plaster of Paris will thicken it.
When experimenting with this, trial and error will give the look one wants).


 I used a larger paintbrush that has been squished so much with use that the bristles are spread out;
this makes it great for pouncing around on the bell.


 It is very helpful to have hooks or wire attached to the bells and a place to hang them so the painting can dry.


The bells should be dry in a half hour or so.


 The paint is very durable with the Plaster of Paris in it, but it has a dull finish,
so I put a coat of water-based polyerthane on them.
Mod Podge or any sealer would work.


 Here are some of the bells.
The bell in the front left is actually a rusty bell I had purchased, just to give some comparison.


This trick is useful in viewing those cheap after Christmas sale bells in a new way.
Perhaps it will even give a jingle to your step.


Thanks for stopping by.
I'll be back again in a day or two to build a cinnamon ornament snowman with you.

Let it SNOW!


Sharing at:

Monday, October 7, 2013

Artist Quote/Tip: John Sloane


“I am always on the lookout for new subjects”, says John. “Familiar scenes can change dramatically with the movement of light and at different times of the year. There is always something new to be seen. I want to create an awareness of the little things that we often take for granted.”


I admire the work of John Sloane.  I have purchased a number of his calenders
as well as his notecards.

He depicts country life in a way that draws one into it,
like warm apple pie with a mug of fresh milk.

You can view a great selection of his prints if you click 
You will be glad you did.

In one of his interviews I read, he said he takes a walk every morning with his dog and often gets inspired to paint from what he sees.

I need to take this advice.  Walks are so rewarding!

He also said that he spends about 30 days working on each picture he creates,
using real life machinery to draw from and creative elements in choosing the people/props, etc.

His interviews were very interesting to read:
I found I gained some new art perspective from them.

If you would like to read more about Mr. Sloane,
one of the interviews was given >HERE<.
and another one >HERE<. 

Thanks for stopping by!

Sunday, October 6, 2013

Painting a Floor: the EASY way!


Hi!

Would you like to see my daughters' room floor?

Come right in!

Here is how easy it was to paint with Annie Sloan's Chalk Paint.


The floor was a mess.  I didn't sand it and paint it right when we moved in nearly ten years ago because I had a bunch of other floors and more pressing jobs that had to be done.


 The great thing about Annie Sloan Chalk Paint is that no sanding or priming of furniture
(or flooring) is required before painting.

NO SANDING!!!

I did go around with a paint scraper and just rubbed up the really loose paint because it was very loose and I was afraid it would make it too lumpy.


I also washed the floor off well.

Markers or stamping pad ink of any kind will bleed through chalk paint.


I had a few bare spots where the raw wood was showing and it must have had some yellowish stain on it because there is slight yellowish bleed through on those spots,


 but it is not bad enough that I want to redo it again.  I would just suggest to you, if you chose to use this paint for flooring,
that any spots where raw wood is showing, you may want to do a test spot with the Chalk Paint.


If there is bleed through, using a stain sealer should seal it and make the chalk paint not bleed through.


 I decided to do the floor in two sections: outer edge and inside the closet first:
2 coats of chalk paint,
butterflies stenciled (I used acrylic paints for the stenciling),
and then 2 coats of Annie Sloan's Floor Lacquer.


For this floor, I ended up needing 3 qts. of the Henrietta chalk paint
(and did have about 1/4 of a can left for some other projects),
and 2 of the bottles of lacquer.


The instructions said only one coat of the lacquer was needed, but because this floor was so scuffed up and had the raw wood showing and my kids play a lot in this room,
I went with 2 coats.

I also put the chalk paint on rather thick, especially where the bare wood was showing,
just because I wanted it to be well covered.

I was worried that there would be an obvious line where I stopped the first section and started the other, but I was very pleased to see the lacquer does not cause this problem at all.

I would suggest if using more than one quart of chalk paint,
mix the cans together before painting as there is very slight variations in the hue of the paints.


 Honestly, though, the way the paint and lacquer paint on,
have such very little odor,
and the dry time is incredibly fast
(Chalk paint dries in about a half hour or so,
the lacquer dries within minutes, but they suggest waiting a day or two before putting furniture back on),
as well as how wonderfully well they have not scuffed or had any problems at all
make this my definite choice for ever painting floors again.


The cost for doing this floor was around $200,
but not having to sand, deal with the dust from sanding,
have the long time intervals of paint drying,
and the horrendous smell of polyerthane drying,
as well as the long wait and poor quality wear that I have seen on my polyerthaned floors
make it worth it.


Of course, this is a personal choice, but I would rather wait until I have the money saved up and do an easy job,
 than hurry with a cheaper, lesser quality job that is all around more difficult.


 If you have any questions, please feel free to ask.