Showing posts with label free illustration. Show all posts

Sunday, December 20, 2015

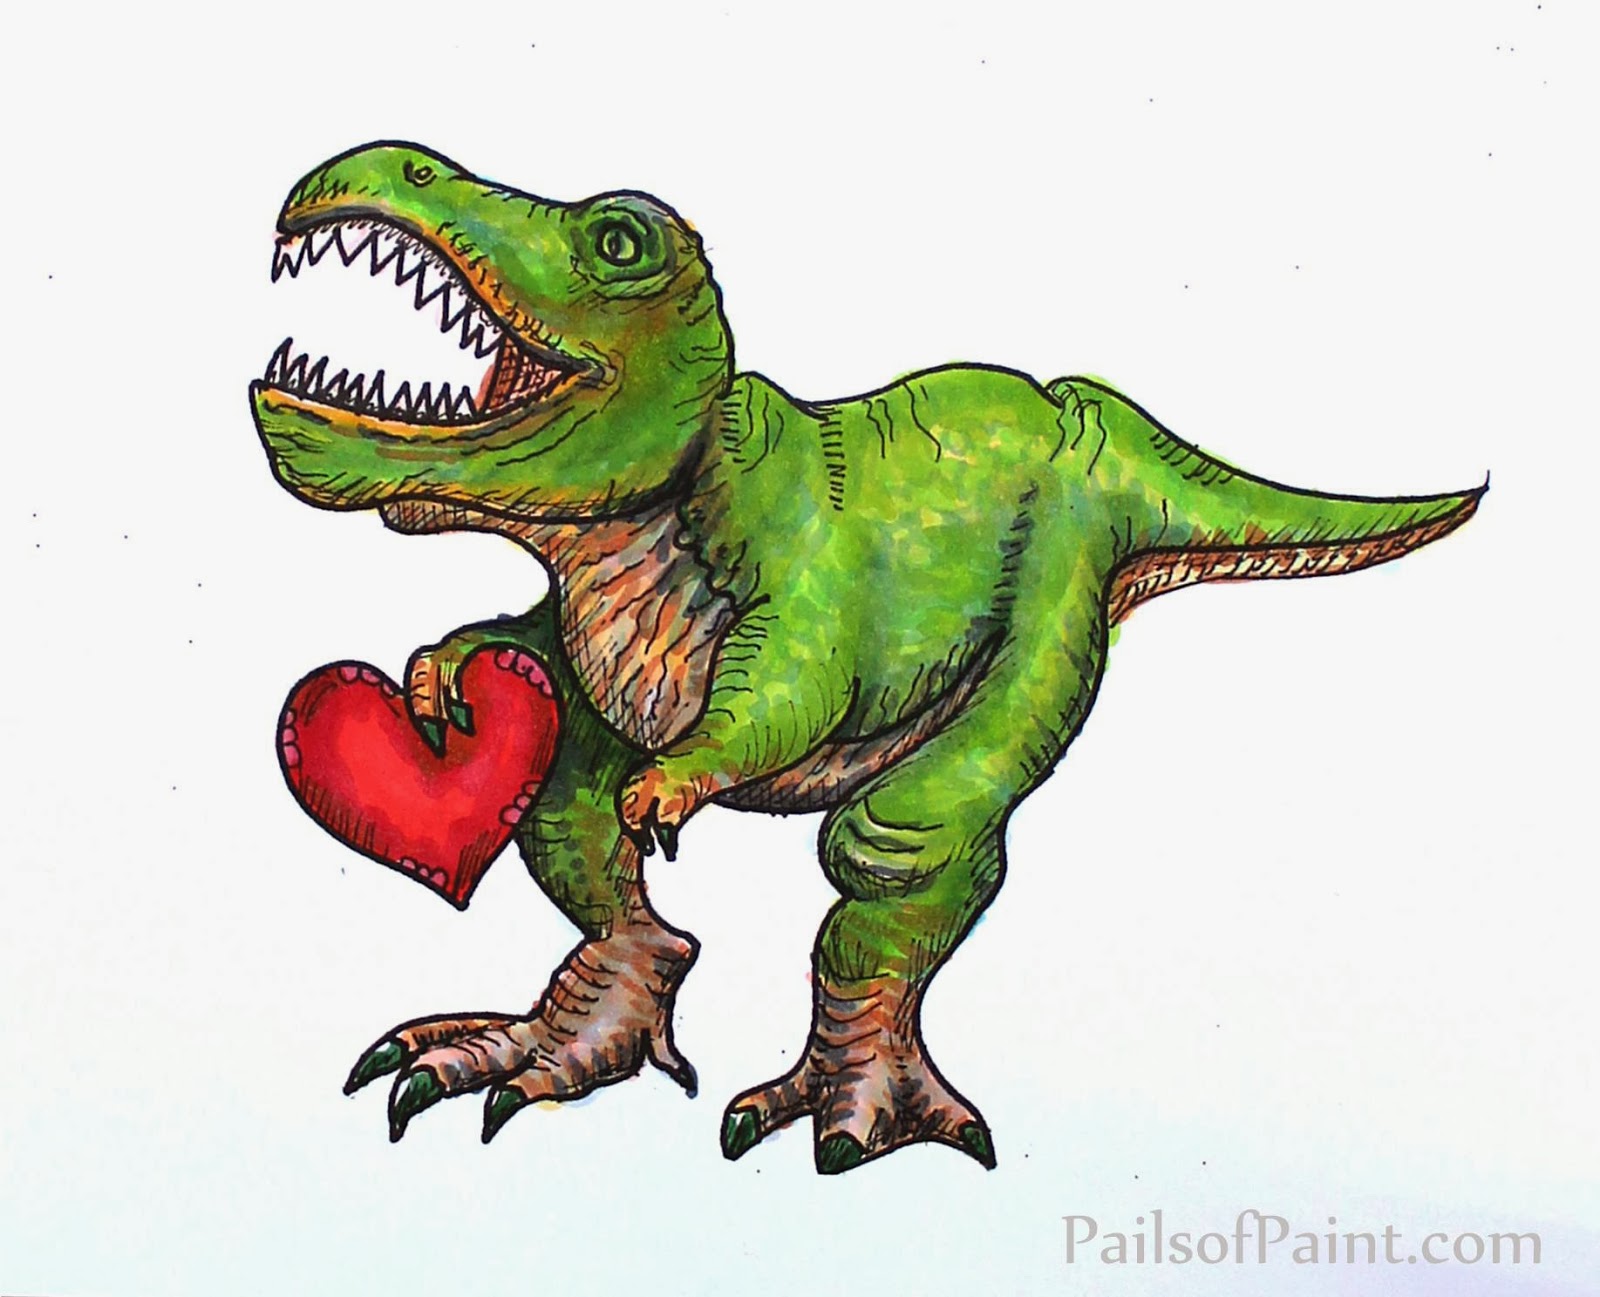
Christmas Coloring Picture

 My teenaged daughter has discovered the coloring books that have become popular for teens (and adults) right now.

I have to admit, I've been tempted to rip out a few pages from her books and lose myself in them with colored pencils or markers.  She guards her books too well though, so none have been nabbed yet.  She has done some beautiful pictures, carefully tearing them out before she starts them and, when completed, neatly filing them in her treasured notebook.

I thought it might be fun to make a coloring "Christmas card" for friends that is actually a bookmark rather than a card.  Something inside me hates the thought of a Christmas card getting thrown out, so I'm hoping a bookmark will be more practical and may have a longer lifespan.  (Is it strange or does anybody else relate to feel a perplexing dilemma when it comes to Christmas cards?  I can't keep them all forever, but throwing them away seems so sad.  I loved looking through and cutting up my mother's old Christmas cards she kept rubber-banded in old shoe boxes...they seemed to hold a bit of the glitter of cheer from years gone by...)


Anyhow, I thought I'd share the bookmark here in case anybody else might enjoy coloring it.


 Here is the colored version I did using Copic markers.


 If you have paper-wasting issues like I do,
or "Christmas-can't-be-lost-to-trash-cans" dilemmas,
or if you just feel the love of coloring calling to you from days gone by,
this may be a happy choice for you.
Here is an image you may print up with four bookmarks on it.

As are all the printables I share on my blog, these are free for personal use, just not for resale.
You are welcome to use them in Sunday school classes or such as well.


I hope you have a Merry Christmas!


Thursday, May 22, 2014

Art Lesson: Watercolor Painted Vintage Wall Art


I was feeling the need to make my mantel sing of spring,
so I dug up these old wooden oval pieces I had once painted on and decided I did not like.
I decided to paint the edging of these ovals in black.


I found some vintage images on the Graphics Fairy of birds and printed them up in the center of each page by pasting them into Word and situating them to the size and place that I wanted them.


 (We've had a visiting blue jay to our yard in the last 2 weeks who is as blue of a blue jay I have ever seen).


I wanted to add a bit of color, so I splashed water all over the page with a paint brush
and then added some blue
and then some touches of red.


 Once that had settled into the paper a little bit,
I began painting the bird with a darker and less watered down blue.


 I filled in the leaves, branch, and flowers as well.


 Once the jay was done, I followed the same process for the Robin picture.


It is always a nice break to just paint an image that is already all drawn up for you.
Who doesn't love a bit of coloring-book style painting?


 I let these dry thoroughly and then cut them to fit into the oval shapes
(I did this by tracing the full oval shape onto the page and then cutting it down evenly on all sides until it fit, but a piece of tracing paper would also work to be more precise.
Laying it into the frame and running a pencil around the inside edge carefully should work).

Once I had them cut, I spread glue all over the backs of the images and then pasted them into the ovals, using paint containers to hold the image down on all the edges.


 Wanting a more vintage look, I heated some water and, using a damp teabag,
dabbed the warmed tea bag all over the image until it was stained as I wanted.
(This could also be done before gluing the image into the frame).


 The teabag was so used up, it cracked at bit and shed some bits of tea onto the images,
but I left them there to dry to add more character.


Once dried, I painted two coats of Mod Podge, allowing the first coat to dry completely before applying the second coat.
I then applied a squeeze of Martha Stewarts all purpose gloss paint from the bottle it comes in around the edges to make them look sealed in to the frame.  I used a paint brush to carefully brush it in and a few damp q-tips to clean up any smears.


Here they are all finished.  Can you see the difference with the Mod Podge?
The shine makes them look more like framed pictures.


I then put some frame wall hangers on the backs of the bird art
and hung them over the mantel in the living rooom


They added a touch of quaint, older looking decor to the wall with no expense at all:
I just recycled and used the supplies that I had...
aren't those the best kinds of projects?

Have you added any spring to your home this season?


I am still working on the bee picture.
It is coming along pretty well, but I am trying to wait until it is all finished before I share the processes I tried with it.

Thanks for stopping by!

Friday, February 14, 2014

Using a Light Box to Transfer Doodles: Free Valentine Cards.


Happy Valentine's Day!

Today I wanted to share a trick with you that I find very helpful for creating art from sketches.
I do this with some of my kids' sketches as well and make cards with them.


Sketches are often done on any paper that is handy.

I was sitting somewhere and wanted to get my kids' Valentines done,
so I used the paper I had available.


When I was ready to put them onto good paper,
I got out my light box: it is just a plastic box type thing with a light in it that plugs in.


Once I put the drawn image onto the light,
I put the good paper down on top of it.


The image shines through.


 Then I can trace the image onto the good paper.


 Once the image has been transferred, I usually outline it with a fine-tipped Prisma liner
(or any good fine-tipped pen or marker will do).


Here is how the images turned out.

(You are free to use these images as well, if you'd like,
just not for resale.)


Here are some colorized versions that are also free for use.
I did these with Copic markers.


 Here is how I used them for Valentines.


The light box is such a handy tool to have around.


Have a sweet Valentines Day!


(To copy these pages, click on the image, right click, and then click on "copy".

Open up Microsoft Word and right click on the screen, and then click "paste".
 The image should paste onto the page.

You can then click "print".
If you have difficulties or suggestions, please let me know.)

Thursday, February 13, 2014

Vintage Home Illustrations: Free Illustrations - Home Tour


 As I was looking for some ideas for making Valentines,
I started flipping through some vintage illustrations.


Something that I noticed about them,
is that often they have designs in the backgrounds.


 These images are surrounded by spherical garlands
and elaborated by the same spheres with curling rope-type images on the semi-circle frame.
It was called a "photo display frame,"
maybe an early rendition of our divided frames we use for family images.


 I found some more elaborate designs in this advertisement for
"Artistic House Furnishing and Decoration."


 The detail on this vintage magazine page is pretty amazing.


 Here is a cropped/lightened version.


I cropped even more into this image so you can see just how detailed this picture is.


 This looks like it may be the children's play room.
I wish I could see what is inside that cupboard door that is half open.


 Here is is lightened and cleaned up.


Even the border at the top of the room is fun to look at.
I love those crocheted curtains with tassels.


 Here is another zoomed in picture of one of the rooms.
They added pansies or violets around the outside of this image: a pretty division.


Maybe this is a parlor.

 Here it is cleaned and lightened.
Don't plants make a house feel alive and cozy?
(I would have to put fake plants up that high or they would never get watered!)
What fancy curtains and pretty lace underneath them.


This looks like an entryway or hallway of some sort.

 
Isn't the curved seating welcoming?
The elaborate wood carving above the doorway certainly took some labor to make.


I am not sure what this last room is.
Maybe it is the family living room.
I love the woodwork on the fireplace and the detail of the wall paper.


 It looks like throw cushions to add some color and design to the couch were a big thing then, too.
Some things never go out of style...
or maybe it is just that things of comfort never go out of style.


I had hoped to have an art lesson this week, but as it pertained to my children's valentines and I am not done with them yet, I decided to post this now and hope that I can finish the valentines tonight...
I guess I had better get to them!


These images are all free for use as they are from a late 1800's magazine.

Thank you for stopping by!


Thursday, January 23, 2014

Free Vintage Images: Wildlife - Deer and Chalkboard Fox.


Hello.

It has been so bitter cold here the last couple of weeks,
I just couldn't get myself to post a snowy winter scene.

I am already cold sitting here:
I need to heat up some hot water for tea on the woodstove.
I wish I could share some with you.


I decided to share some wildlife images instead.

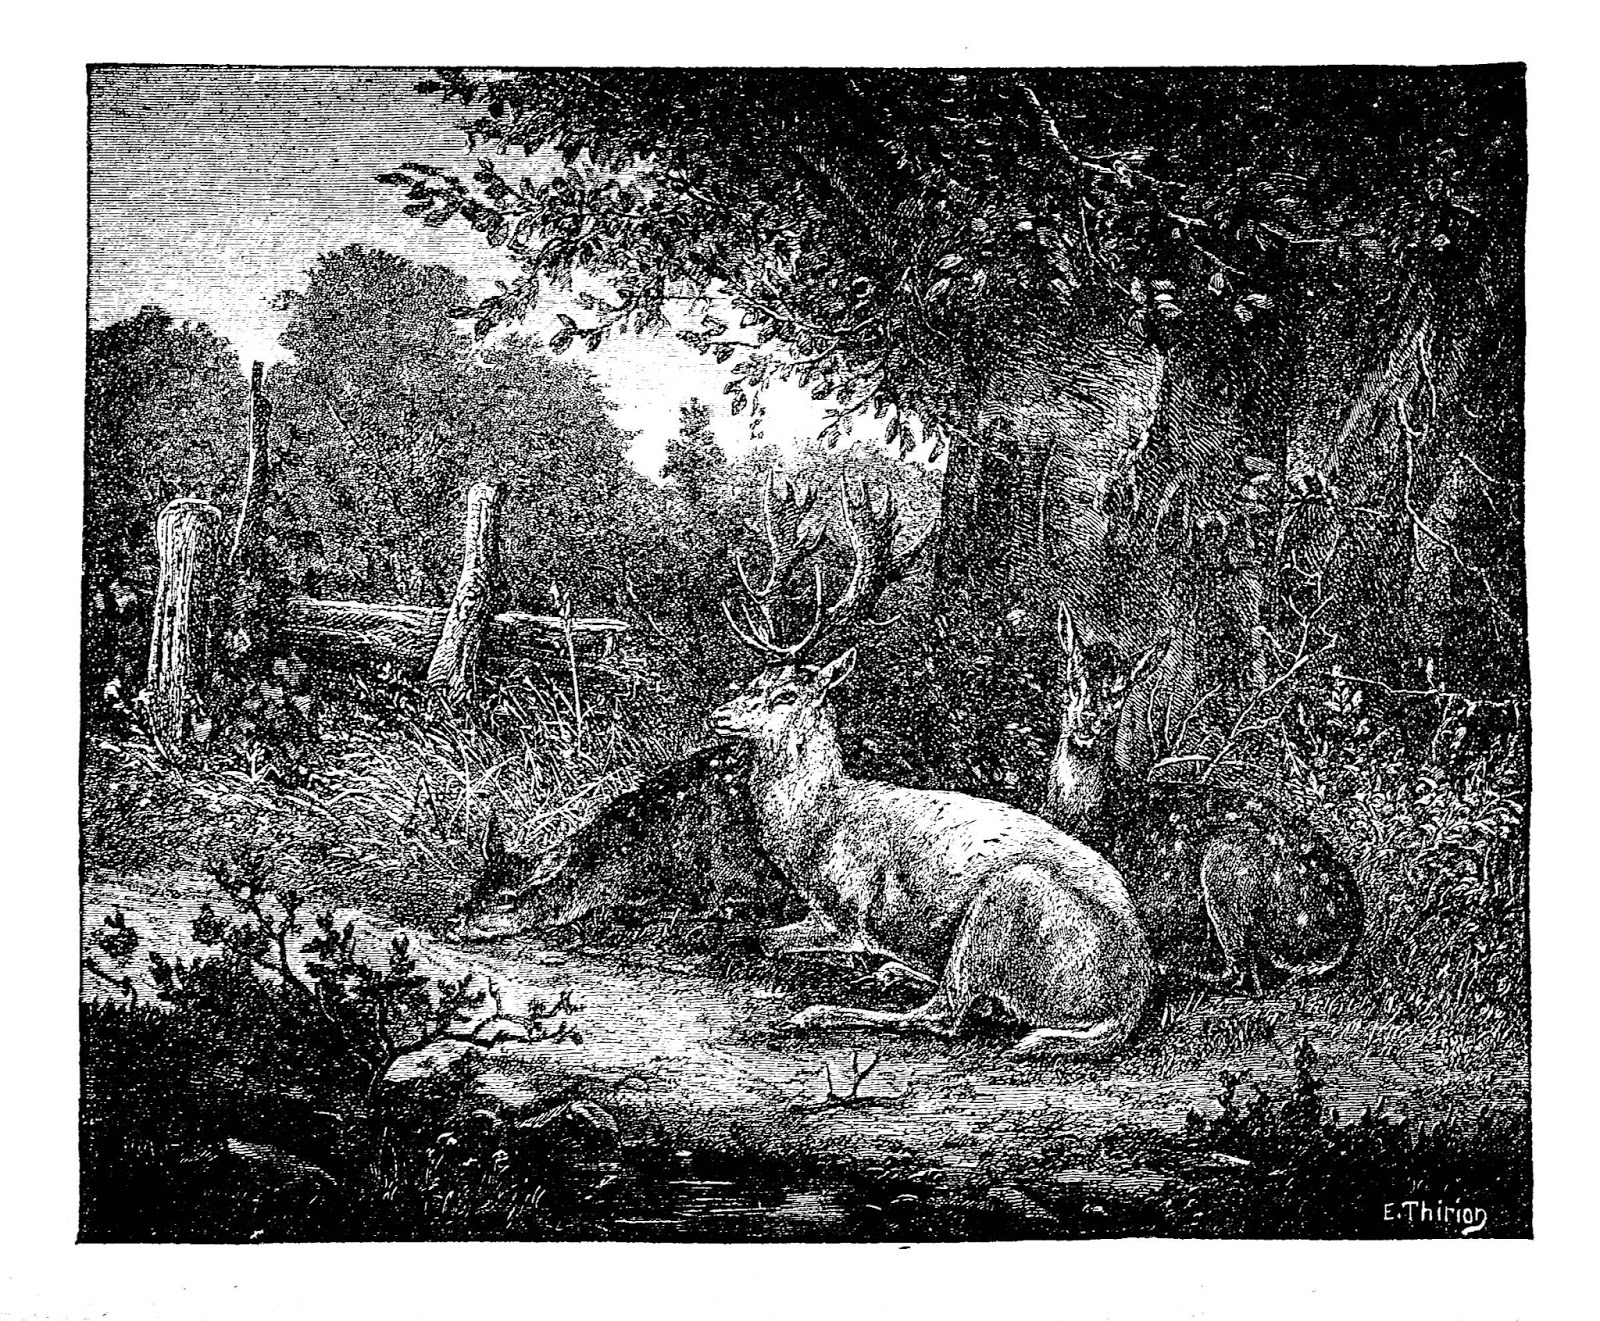
Here is a beautiful scene of deer resting in a group.


Here it is in black and white.


Here it is antiqued.

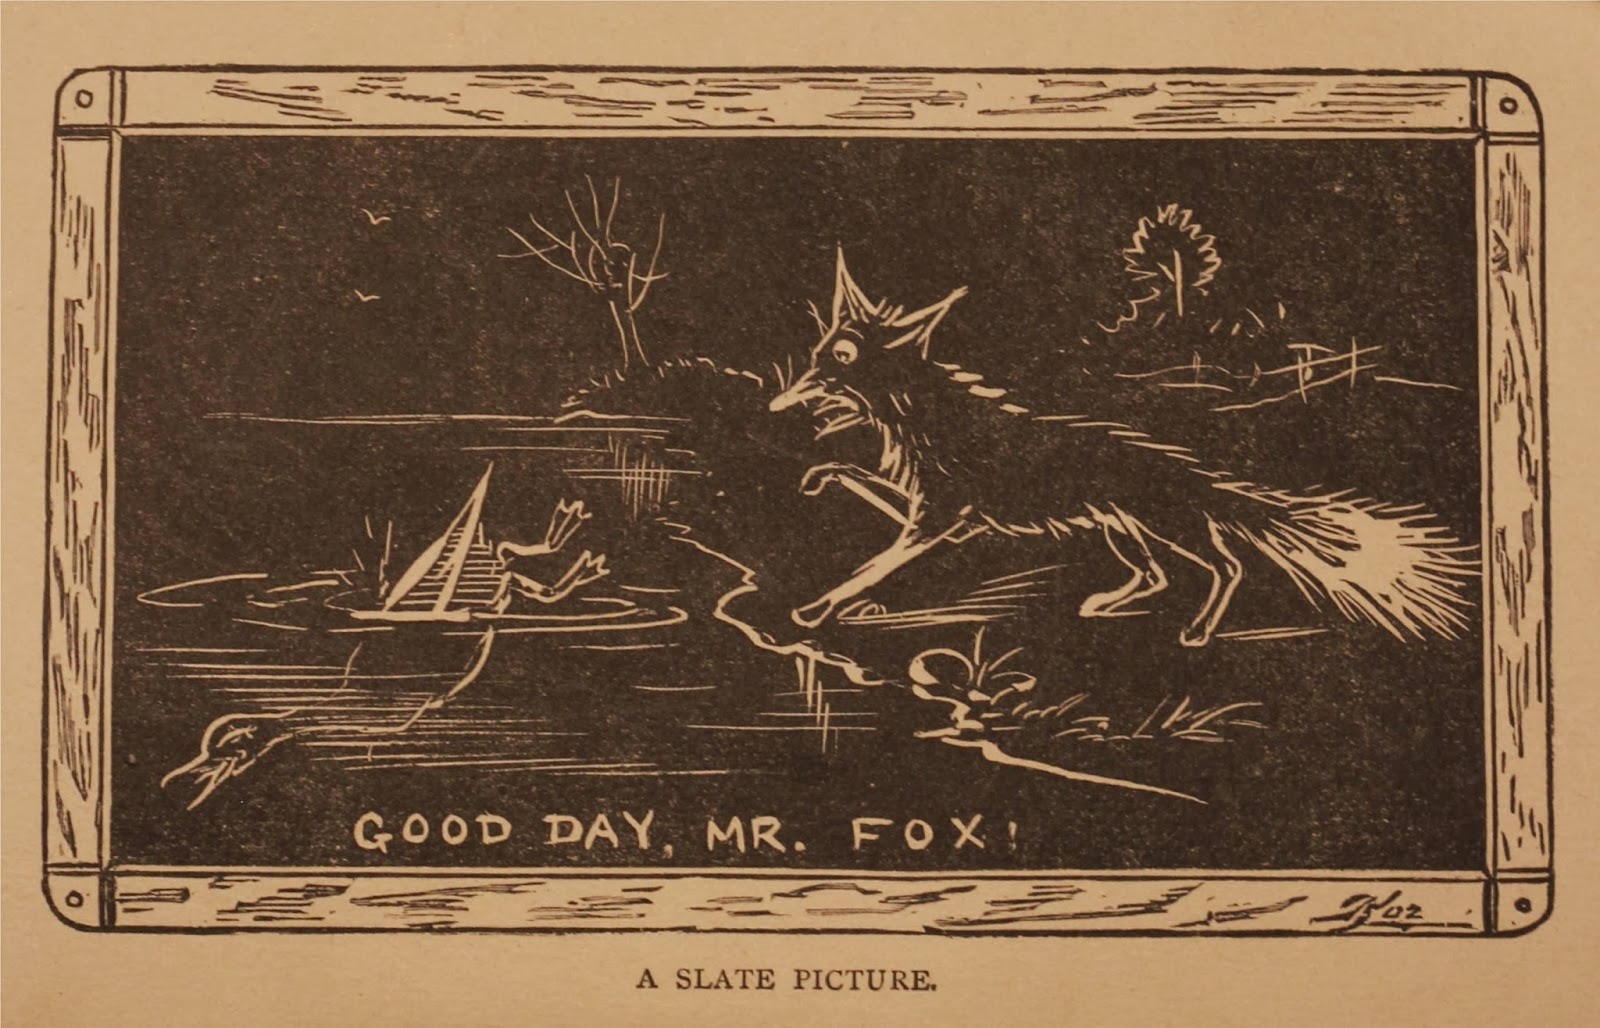
I also found this fun chalkboard image of a fox chasing a duck.


 Isn't it a fun one?


Of course, you are free to use these as you like since they are from books that were published in the late 1800's.


Thank you for stopping by!