
I finally got the school room rearranged and organized for the start of the school year a couple weeks back and am making time to share them today.
For some reason, there is something about having a "new" room to go to that makes the first day of home-schooling seem more like a new place to be.
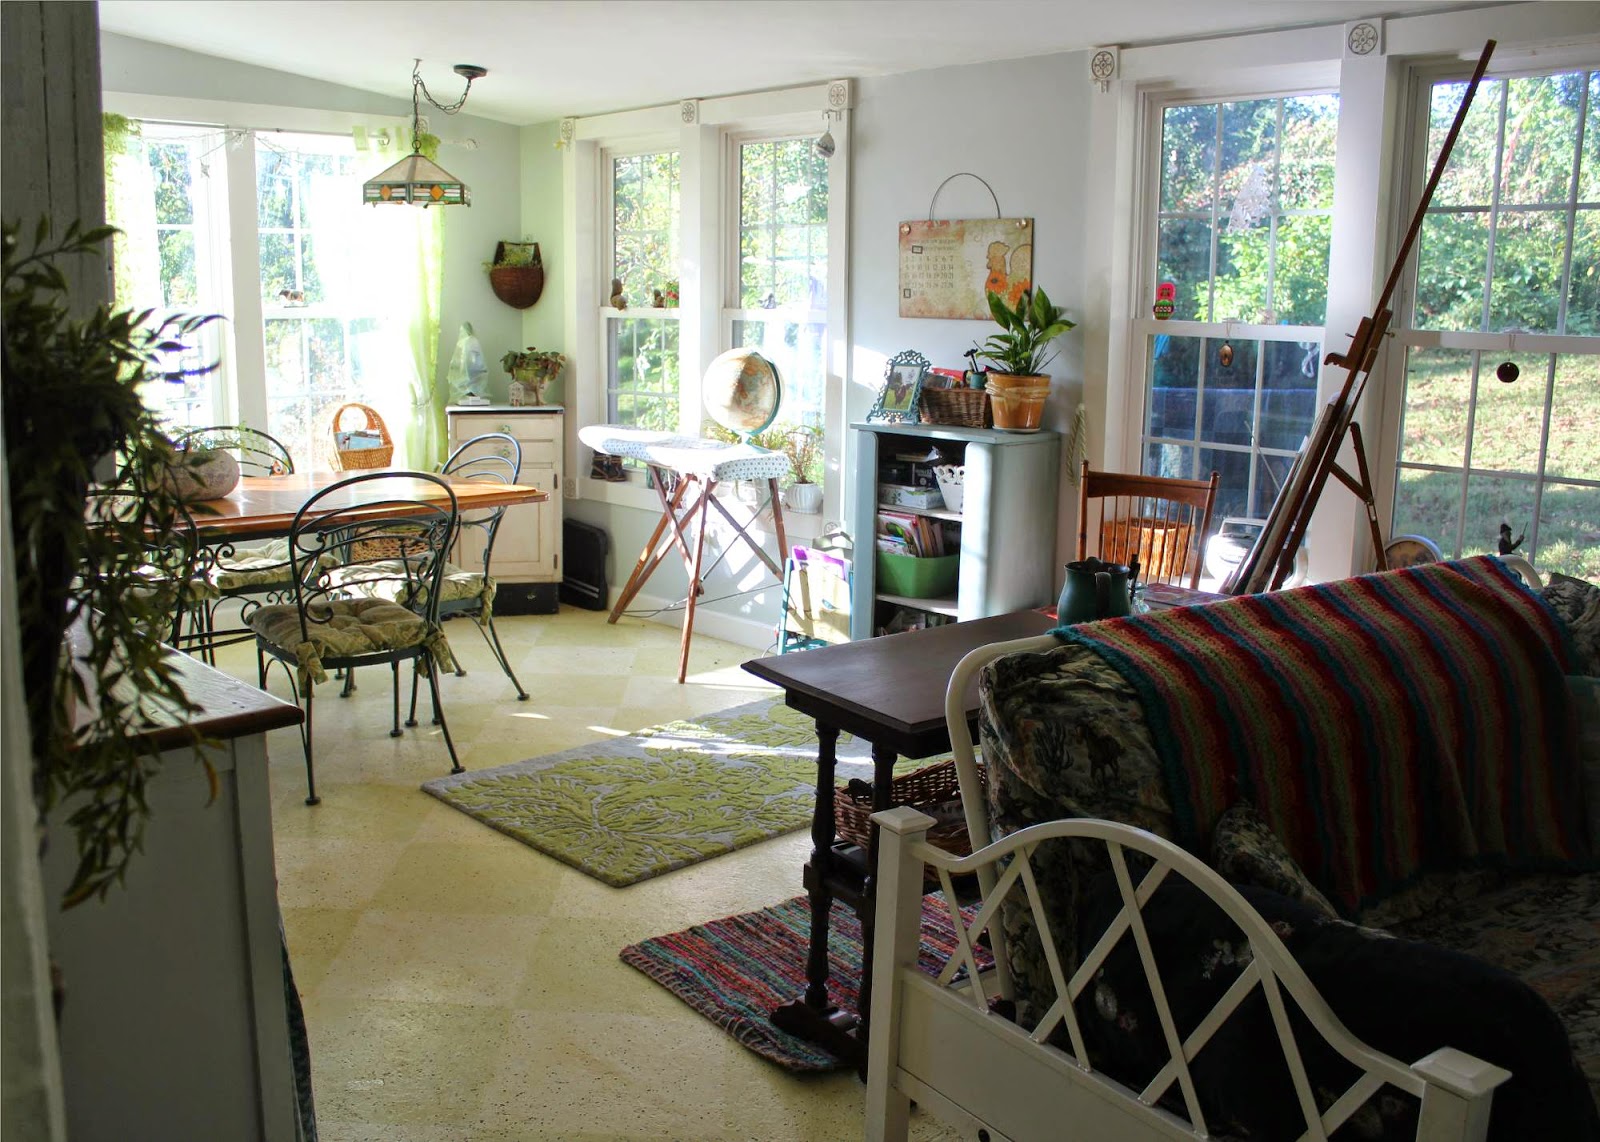
The new set-up gives useful separate areas for the different needs this porch room fills.
We moved the table up against the wall in front of the bright windows.
I love the long table: it offers a lot of elbow room.
The bottom was an outdoor table that the glass broke out of
and we found the wooden top to replace it on Craig's List.

On one end of the table I put needed supplies in separate containers...

and am hoping they will stay separated long enough to make the effort worth it.
It seems I/we can keep things more organized when we have enough containers and storage spaces.
I especially like baskets because not only do they look quaint,
the handles make them easier for kids to carry.
A big basket of markers on the floor seems harder to lose than a generalized plastic box
(or maybe it just stands out to these eyes that seem to miss things that appear too ordinary...

"Scream at me, markers, where are you?")
I have read over and over that if the artist in me ever wants to get much of my own projects accomplished, I need to set up a distinct place that is mine
and a distinct time to work there.

At least with my easel and desk set up here, I can view the television to catch an evening movie while I work, or get a few strokes in at the easel while seat work is going on.
I like to repeat using some colors/boxes for storage. Somehow, this makes me "feel" more organized;
but then allowing for some different basket containers makes it seem more inviting.

I also have found it helpful to keep a different child's books on different shelves.
My 5 year old's school books are on the second shelf,
my 7 year-old's school books are on the bottom shelf.
My supplies are on the very top and the first shelf holds some school games.
I also think it's fun to employ old pieces of furniture to hold things.

The top part of this piece came out of our barn.
The bottom is a dresser that was missing the two large lower drawers.
Painting them the same color helped bring them together.
The large crate beside it holds my oldest daughter's school books.
The top part holds my things: some of my favorite tea cups as well as sewing supplies and some ink supplies for artwork.

The bottom behind the curtain holds some of my teacher books and art pads;
a fabric box full of extra reading to go with our year of schooling:
one for my son and the other for my daughter.

There are also my special art markers in a basket and a box tin full of CD's underneath the cupboard.
A smaller bookshelf hidden partially under my sewing machine cupboard has art supplies for the kids to use.
Isn't it a necessity to keep a good amount of green plants around to make it seem like the outdoors isn't too far away?
(Or to put it simply: I love plants!)
(Or to put it simply: I love plants!)

The other side of the room is set up for relaxing to read books, or watch a movie in the evening,
or, occasionally, to watch something educational.
I worried the fuzzy wool off-white rug would be hard to keep in this room,
but I took a risk and got it,
hoping it would make this part of the room feel more welcoming.
hoping it would make this part of the room feel more welcoming.
I am glad a fellow blogger gave the advice that stretching to take a small risk like this doesn't need to be such a scary thing to do; so I took a small bit of my kitchen money I had set aside
(and that was not going to happen this year),
and I bought a few rugs during a good sale at USA Rugs,
weighing in that the immediate warmth they would give to our home was worth the extra wait toward the kitchen.
I have been so happy with the results).
(and that was not going to happen this year),
and I bought a few rugs during a good sale at USA Rugs,
weighing in that the immediate warmth they would give to our home was worth the extra wait toward the kitchen.
I have been so happy with the results).

My son's bearded dragon on the other side of the room enjoys having the constant flow of traffic throughout this room, I'm sure.
Now we can hit the books...
and paintbrushes!
Thanks for stopping in for our tour.


