Tuesday, September 10, 2013

Art Lesson: Watercolors - Painting a Blue Canning Jar.


Hello!

This week I will be sharing,

dare I admit this,

one of the my few attempts with watercolors.


Please know that I am certainly not trying to come across as proficiently skilled with these fun paints called watercolors.


Yes, I know: how can I teach an art lesson on something I am not well experienced at?
Well, let's just say that I am on this learning journey, too,
and am sharing my trials and errors hoping they will help somebody else out.

Of course, I have created countless "watercolors" using the kid sets of brightly colored chips of pigment that my children seem to turn to mud within a five minute painting session.

Although children watercolors are inferior to the beauty of good watercolors,
I think the general feel/techniques of them helps to prepare for the better quality ones.

So, if you are inexperienced with them, just put on your childhood smock and bring up that happy memory of painting with those muddy palettes.


I watched several Youtube videos to get some ideas, tips, and general procedures before I decided to open up the new set of Winsor and Newton set of 14 watercolors I recently picked up on a good sale.

I put a plastic placemat under the watercolor paper on which I had lightly transferred the image from my original sketch.  I then taped the paper and the placemat down around most of the edges using masking tape.  I found the paper wanted to buckle too much when it wasn't securely taped down as one of the artists had mentioned on Youtube.


I watered down the white and put a wash of this over the top half of my painting.


I then created a light brown with the red and green and watered it down very much so it was a wash under the canning jar and rose.


One thing I saw on one of the videos was how paper towels can be a good friend when it comes to water coloring
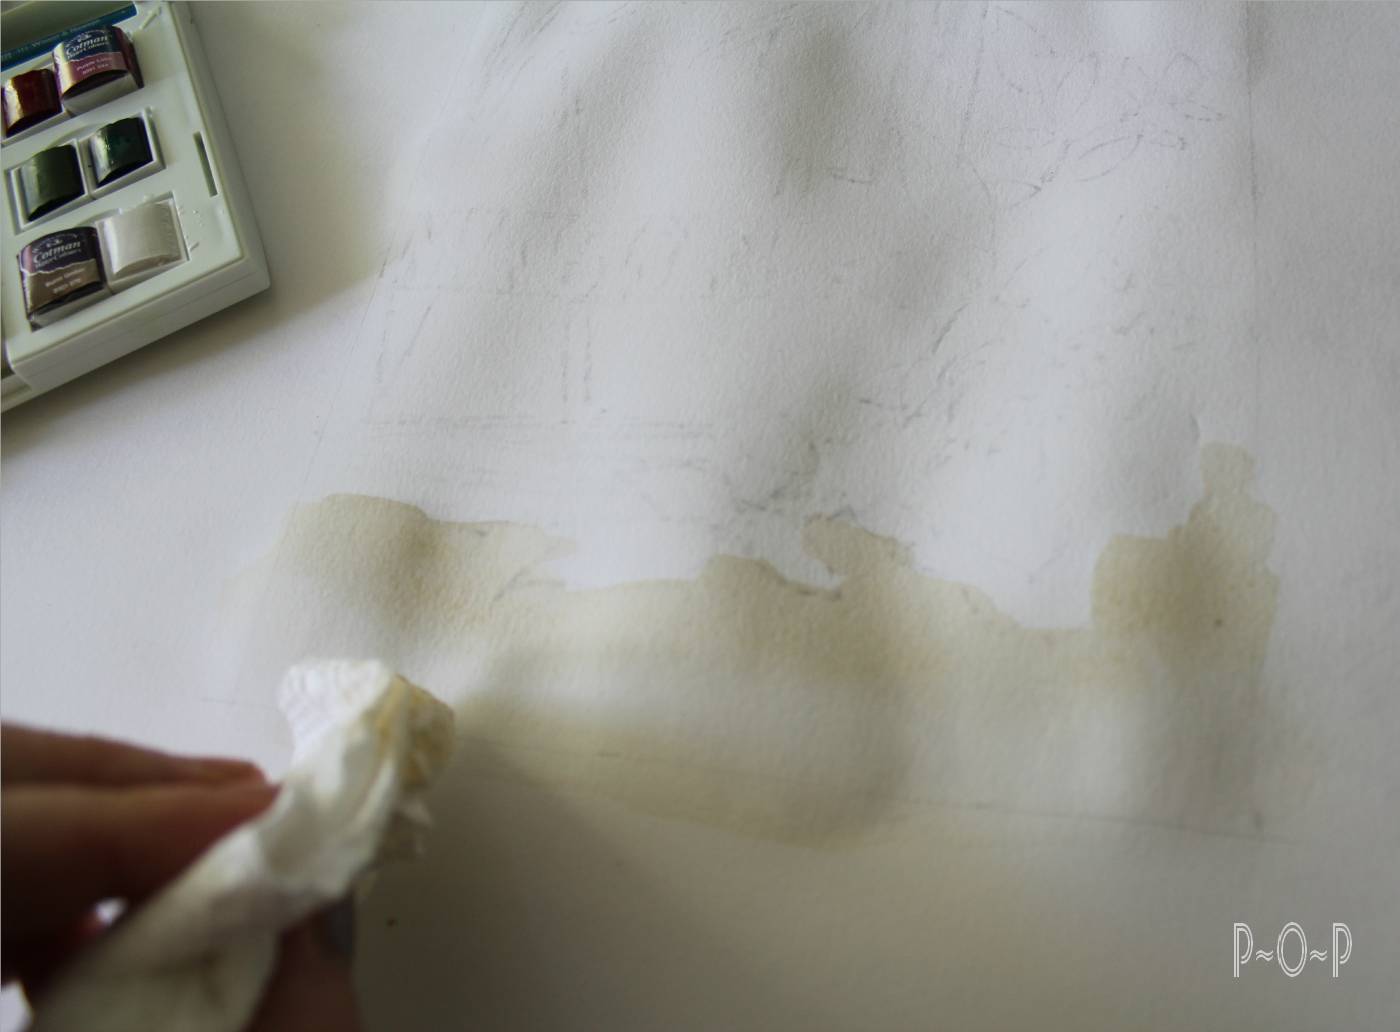


Once I had the wash over the page, I began to play with the colors on the back of the lid of the paint set.


 I started with a watered down green, knowing the leaves in the distance and the stems in the jar would not need to be detailed so this would allow a slight margin of error for my lack of experience.


I then mixed up a watered down blue/green trying to achieve the color of the glass jar
and began applying it wherever I felt most comfortable starting.


I created a very watered down gray and used it on some of the lettering where it appeared to be in the photo.


After I had worked on the blue for a while,
I decided to stop and add the very light yellowish/peach color of the light reflections on the glass.
I mixed yellow and a bit of red and white.

I am not sure what created this color on the glass.
Could the rose have influenced this? 


 Whatever the reason, I wasn't going to argue with the photo and just tried to paint what I felt I saw.


The stems of the roses in the canning jar were resting behind the "B" of the Ball written on the glass,
so this altered the colors in it.

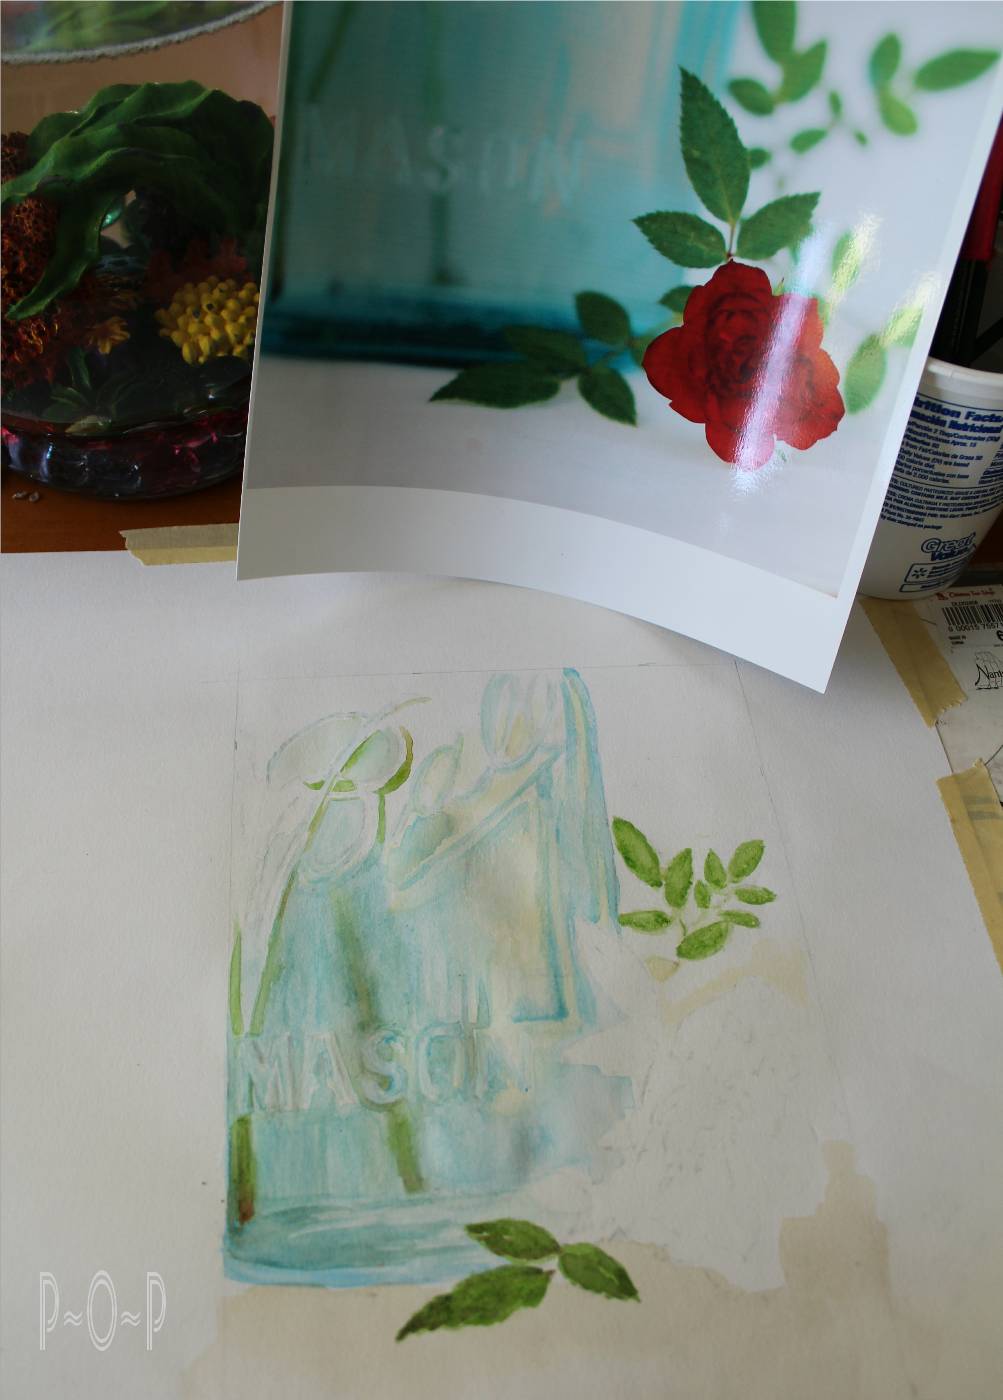


 As I worked, I continued to add streaks and color wherever I saw I had neglected it.

I worked as I felt comfortable and that it was an enjoyable progress.  I quit work when it felt like it was becoming frustrating.

I stopped at around this point.


I will share the work on the rose and completion of this painting next week.


Have you worked with watercolors?  
I found them very rewarding and can see I will want to pick it up and try another painting soon.


To see the next step of this painting click on:
Art Lesson: Watercolor Rose
Art Lesson: Shadows with Watercolor


Sunday, September 8, 2013

Coloring Page: The Third of the Ten Commandments


Hi!

Here is this week's memory verse page.

This is the third of the Ten Commandments.

God's name is holy.


Here is a colored version.


These are free for use as long as they are not used for resale.

For the other verse coloring pages,
click >HERE<


Saturday, September 7, 2013

Vintage Illustration: The Carousel.


For my daughter's birthday, she said she didn't want a party.
She wanted to go to Knoebels.

Knoebels is an amusement park a few hours away.
It is a great family park because unlike  many amusement parks, you do not have to pay to get in.
You can choose to buy all-day wrist bands
(and you can get $5 savings by buying them at Meyer's grocery stores),
or you can just buy tickets to buy each ride
(you can get a discounted pack of $20 worth of tickets for $16 at Weis grocery store).

What is especially nice about Knoebels is the atmosphere.
It is mostly shaded, the noise level is not bad,
and it is very well maintained.

Aside from that, the floral displays they have everywhere are fantastic.


Sitting on the many park benches is a delight.

There are also picnic tables everywhere if you want to bring a packed lunch or buy there,
and the prices are not too unreasonable.


There is a waterway running through the park and numerous bridges to cross it.


Even the painted flowers are sweet.


It was a sudden idea to go to Knoebels, but a perfect day for all of us kids.


Because of our trip, I am posting a vintage illustration of a carousel that I found in one of my late 1800's books.


This looks like it would be such fun to color.  I didn't have time this week, but perhaps someday.


Here is the image in black and white...


...and antiqued.


 I cropped and pasted up a few bits of the scene that I thought were nice on their own as well.


Here it is antiqued.


And here is a young boy enjoying his ride.


 Do you have a favorite destination for family memories?


These images are free for use as they are past the copyrighted date.


Have a great weekend!


Sharing this post at these blog parties:

Thursday, September 5, 2013

Home-made Clay and Progress on my Daughter's Room.


Hello, friends.

I am going to have to ask you to excuse me from an art lesson this week.

I finished the watercolor of the canning jar and rose that I started last week
and was going to go over some of that,
but I have been so busy today...


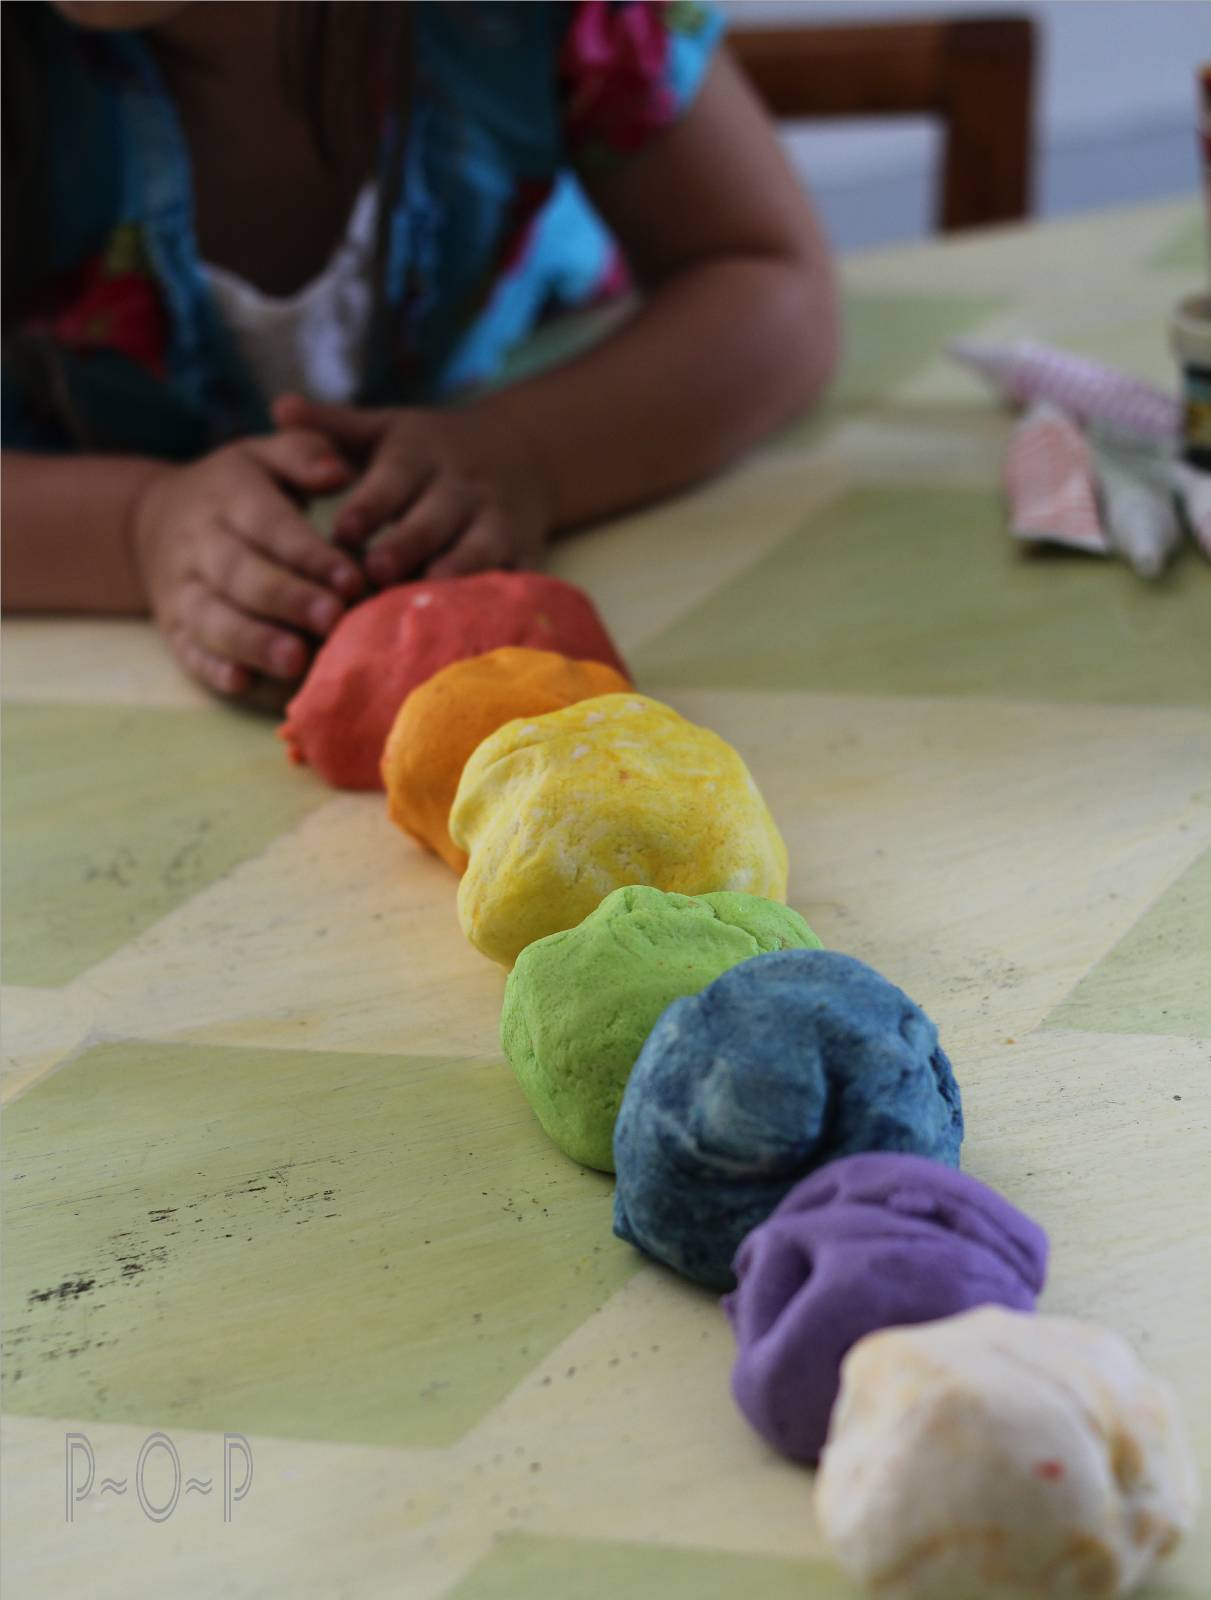
with some home-school extra activity of home-made self-drying "clay" projects.
(I used the recipe for this dough from >Redfly Creations<).

4 c flour
1 tsp alum
 1 1/2 c salt
1 1/2 c water
Food Coloring of Choice (I used gel colors)


They made some creative little pieces.


I joined in for a few tiny decorations as well.


Also, my daughters' room has been a work in progress for almost a year now.

I painted her bookshelf in the color choices she has been wanting,...


painted up some shelves to match,...


 and painted/decorated the dressers in her room to go along with her new look.


The floor in her room was the first one I did when we moved into this house.

The living room floor and floors with rugs that had to be ripped up and done right away made me rush through her floor, so I just painted something right over the top of what was there.
The paint didn't stick well (and I learned one always pays for trying to cheat when it comes to painting something as well used as flooring),
 so it has become quite a mess.


I have had 2 quarts of Annie Sloan Henrietta for several months waiting for me to paint the floor,
and I finally decided today to get it done.


After we had piled some of the stuff onto the bed and temporarily moved what we could to my son's room, I swept and then washed the floor.


Here is is with about 2/3 of the floor painted in one quart of the paint.

I will post some  pictures when it is done, in a week or two.


So I have been very busy trying to get a few necessities done,
but I will post a lesson next week

I hope we can let this one pass.


Thanks so much for stopping and visiting with me.


See you again soon!


Monday, September 2, 2013

Ten Commandments Coloring Pages - #2


Hello.

Today I am posting the 2nd of the Ten Commandments from the verses in Exodus 20.

These verses were long,
so I made several pages to break them up.

You are free to use these for your children or Sunday school classes or such,
but please don't use them for resale.

I plan to have a coloring contest using these in the next couple weeks,
so I am hoping some kids will join in for that and have some fun coloring these.

I also made colorized versions of these with my Copic markers for anybody who wants them already done.


Thanks so much for visiting my blog today.

(To copy these coloring pages, click on the image, right click, and then click on "copy".

Open up Microsoft Word and right click on the screen, and then click "paste".

 The image should paste onto the page.

You can then click "print" to use them as coloring pages.

If you have difficulties or suggestions, please let me know.)


(If you want Ten Commandment Coloring Pages #1 click >HERE<)
(If you want Ten Commandments Coloring Page #3 click >HERE<).


Sharing this post at: 
Notjustahousewife.net
 Funkyjunkinteriors.net
Time-warp-wife.blogspot.com
Abowlfulloflemons.net
Astrollthrulife.net
Sugarbeecrafts.com
Hiphomeschoolmoms.com


Sunday, September 1, 2013

Vintage Illustrations: Fishing.


Hello, friends!

Today I am sharing some fishing illustrations I found in a late 1800's magazine.


This is a busy ad.


Here is the image cleaned up in black and white.


Here it is antiqued.


I then cropped it and created just the bottom part of the image.


Here is the bottom part antiqued.
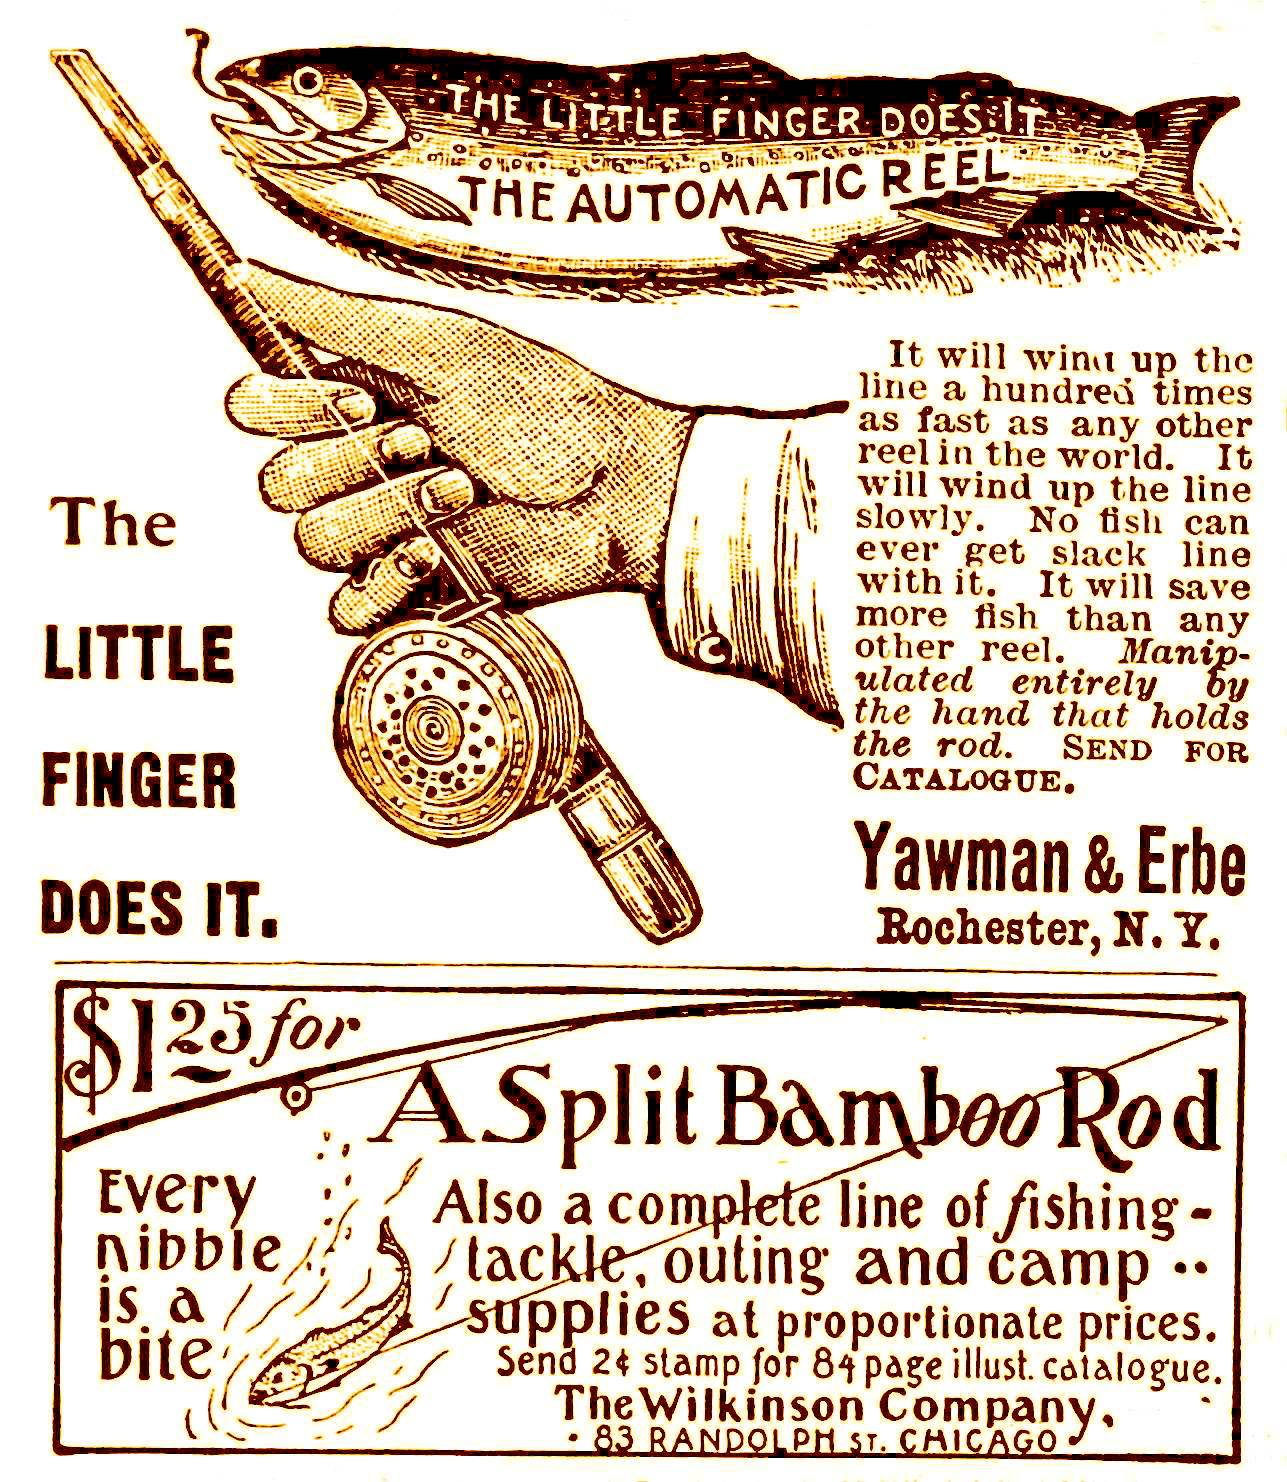


I thought the fish alone looked like a fun image.


And then I took off some of the wording.


Lastly, I decided the hand holding the fishing pole might look great alone.


These images are free for use.

I think we all know somebody who loves to sit with a fishing rod and catch a hungry fish.

I have to admit I wish I had more time for it myself.
What about you?  Do you enjoy a quiet day at the lake with a fishing pole?


Have a great week 
and
thank you for stopping by.


 Sharing at: