Showing posts with label flowers. Show all posts

Friday, July 25, 2014

Art Lesson: Chalk Pastel Daylily


Hi!

My life lately seems to revolve around ducklings and chicks, gardening, weeding, and picking berries...

and more berries...

and more berries.

We have had an abundance of the tiny finger fruits: black raspberries and now wineberries.
I have been freezing them so that when the fall comes and it is cooler, I can make some jellies and berry syrup.

We have picked and frozen well over 50 quarts of berries...our freezer is getting full!


The other day I just had the urge to get back to art again;
so I threw my to-do list aside and grabbed my pastels and paper and took a seat out in front of whatever I saw that looked pretty and inspiring.


 This decorative maple with the garden decoration looked nice to me.


 Crocosmia are starting to bloom inside it.


I started a rough sketch of it...


and added a few details.


I was suddenly needed inside the house by one of the little people, so I set the sketch down and ran in.

By the time I came back from the situation (as well as a few distractions along the way),
I noticed a small summer drizzle had started and when I got to my paper, it looked like this:


 I was feeling like I did not want to continue with such a large sketch anyhow,
and by this time, one of the kids had followed me and decided she wanted to create some artwork, too.


 As we prepared to share the pastels, I found a pretty daylily flower I decided to sketch.


 Isn't it superb?  I just love the colors of daylilies!


 I lightly sketched the outline of the bloom with pencil on my paper.
(I had chosen to do the sketch on yellow paper, trying to capture the yellow of the inner part of the flower.)


I decided to use the over-layment of tracing paper trick to get the main veins of the petals etched in.


 This creates a sunken line that will avoid the colors as they are put down.


 I started with a light pink on the petals, a light green inside the center, and a touch of yellow surrounding the green.  I like to start light and build up the colors from there.


 By this time, another artist had joined our group and she began creating.


 (I was hoping her art depiction would in reality leave us alone for the rest of the day).


I continued to add colors to my bloom, trying to build up to the colors I could see in the flower.


It is always more fun when everybody joins in on creating a few sketches of art.
Finally, my son could not resist the crowd that had gathered around the picnic table covered in pastels.


Of course, his art always seems to revolve around dinosaurs and dragons.


 Taking pictures of everybody else's artwork meant I was asked to take one of hers,
except she can never resist making a face,...
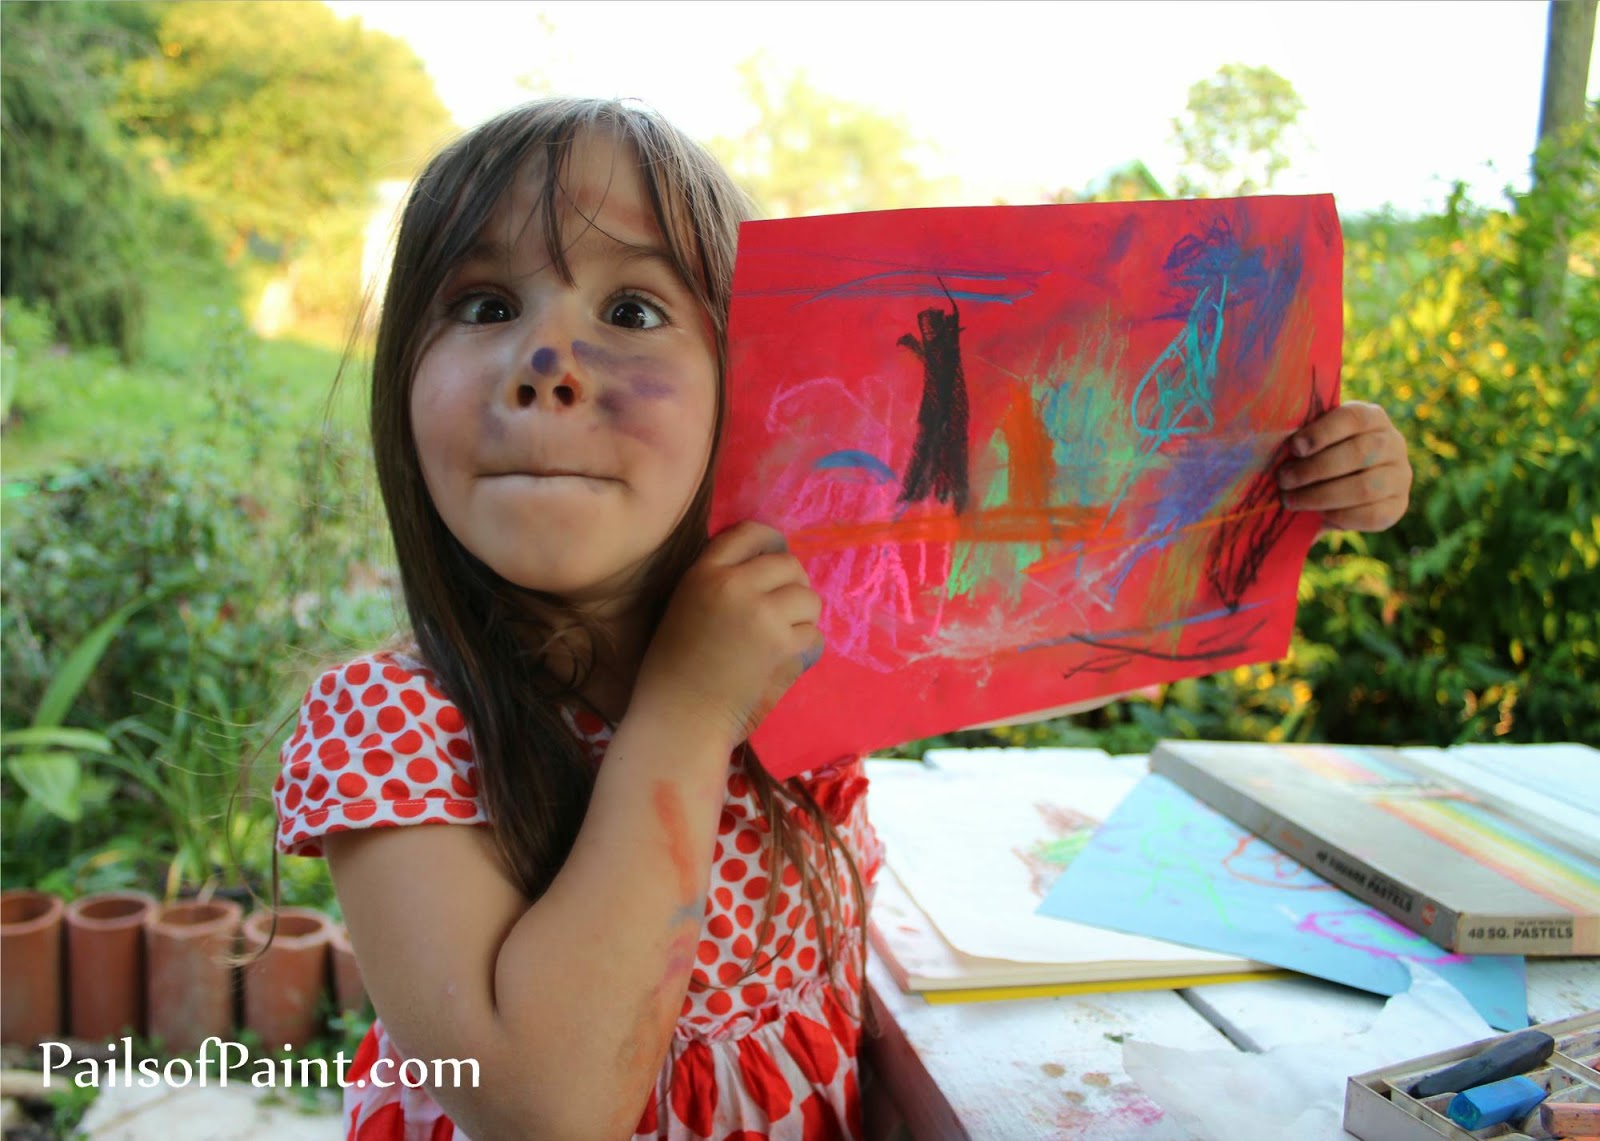


 but eventually, she can't help letting a smile out.


 Finally, I got my sketch to the point where I felt it was done and I decided I would stop and spray fixative on all of our work.


Chalk pastels are so much fun to create with and I felt happy that the blossom turned out as well as it did for just a random afternoon sketch.


I think the best part about this artistic endeavor however, was the fun memories all the artists came and made with me.


How about you?  Have you taken a break and sketched something in your July days?
If not, there are a few more days left, so see if you can take a few minutes to get something sketched...
you'll be glad you did!

Wednesday, June 4, 2014

Art Lesson: Drippy Watercolors


Hi there!

I decided it was time to get these pictures of the bee picture on here.


I wanted to do a bit of experimenting with letting the watercolors be bold, loose, drip down the canvas.


Here is one I loved of a butterfly from a shop on Etsy by Dean Crouser.


Also, the beautiful, colorful artwork of Slaveyka Aladjova which can viewed at her esty shop here:


(I think the lion, horse heads, cow, and rooster are my favorites.  FANTASTIC!)


I wanted so much to create a beautiful piece like these, so I used the bee sketch that I partially outlined with ink, took a picture of it,
and then printed up 4 or 5 copies of it onto cardstock paper to experiment before I completed the large canvas.


I started by using masking fluid on the areas I wanted to keep lighter or white.


On my first try, I was very careful and conservative and basically just painted without letting any of the paint get too drippy.


For the next image, I decided to brush water all over the areas I was about to paint,...


and add the paint right away, letting it drip and wash where it wanted.


(I am a bit embarrassed to show this image as I obviously got impatient and the masking fluid was not completely dry and it ran down the wet paint.
I knew this was just a rough run-through of experiments that I would be throwing away,
so I was not as patient as I would be with a real canvas

One cannot rush the masking fluid.
I wiped it up with a bit of paper towel.)


I followed the same wetting down of the paper procedure before I painted on some yellow.


For my next sample, I wet the page down, but used less water, so it would not be quite so loose.


I did the same with the light blue.


I painted the pink on the petals with a fine brush.


I finished with a bit more detail and some loose green for the stems and leaves,...


and then added more wet colors for the dripping effect.


For the other pages, I basically continued experimenting with putting down washes,
letting colors drip, putting on heavier colors where I wanted more detail.


(heavier paint on flowers)


(cleaner, more bold colors)


(more warm colors, blended colors)


It was a fun experiment and I am glad I did them on the cardstock instead of going right to the canvas.


When it came down to it, I did not like the results I had achieved with the dripping watercolors enough to go through with them on my canvas,
at least, maybe for this scene.
I loved the images the other artists have done with this, but I am not ready to frame my own attempts, so I chose to go with what I was comfortable with for my canvas:
copic markers.


Here is what I chose to do, partially finished...


and this is where I decided to stop.


I enjoyed the dripping watercolor method and hope to try it again.


Have you ever given the drippy watercolor method a try?


Here is a video I found very useful for explaining the technique.


Thanks for stopping by and have an excellent day!


Thursday, May 22, 2014

Art Lesson: Watercolor Painted Vintage Wall Art


I was feeling the need to make my mantel sing of spring,
so I dug up these old wooden oval pieces I had once painted on and decided I did not like.
I decided to paint the edging of these ovals in black.


I found some vintage images on the Graphics Fairy of birds and printed them up in the center of each page by pasting them into Word and situating them to the size and place that I wanted them.


 (We've had a visiting blue jay to our yard in the last 2 weeks who is as blue of a blue jay I have ever seen).


I wanted to add a bit of color, so I splashed water all over the page with a paint brush
and then added some blue
and then some touches of red.


 Once that had settled into the paper a little bit,
I began painting the bird with a darker and less watered down blue.


 I filled in the leaves, branch, and flowers as well.


 Once the jay was done, I followed the same process for the Robin picture.


It is always a nice break to just paint an image that is already all drawn up for you.
Who doesn't love a bit of coloring-book style painting?


 I let these dry thoroughly and then cut them to fit into the oval shapes
(I did this by tracing the full oval shape onto the page and then cutting it down evenly on all sides until it fit, but a piece of tracing paper would also work to be more precise.
Laying it into the frame and running a pencil around the inside edge carefully should work).

Once I had them cut, I spread glue all over the backs of the images and then pasted them into the ovals, using paint containers to hold the image down on all the edges.


 Wanting a more vintage look, I heated some water and, using a damp teabag,
dabbed the warmed tea bag all over the image until it was stained as I wanted.
(This could also be done before gluing the image into the frame).


 The teabag was so used up, it cracked at bit and shed some bits of tea onto the images,
but I left them there to dry to add more character.


Once dried, I painted two coats of Mod Podge, allowing the first coat to dry completely before applying the second coat.
I then applied a squeeze of Martha Stewarts all purpose gloss paint from the bottle it comes in around the edges to make them look sealed in to the frame.  I used a paint brush to carefully brush it in and a few damp q-tips to clean up any smears.


Here they are all finished.  Can you see the difference with the Mod Podge?
The shine makes them look more like framed pictures.


I then put some frame wall hangers on the backs of the bird art
and hung them over the mantel in the living rooom


They added a touch of quaint, older looking decor to the wall with no expense at all:
I just recycled and used the supplies that I had...
aren't those the best kinds of projects?

Have you added any spring to your home this season?


I am still working on the bee picture.
It is coming along pretty well, but I am trying to wait until it is all finished before I share the processes I tried with it.

Thanks for stopping by!

Monday, May 19, 2014

Living Spaces in the Flower Gardens.


Hello!  Did you do anything creative this weekend?

I did a few things but mostly spent a lot of time catching up on housework...the plant sales and kept me so busy that my house was in desperate need of some drastic attention.  It feels great to have a good part of the house done but I still have a few areas I hope to finish this week.

It is so hard to be inside when the weather is perfect.  The sun shone all weekend and it was a perfect temperature of warm out.  I took a few pictures because it is incredible how a couple weeks can transform the gardens.


I have a few different types of allium, but these are my favorite.
The flowers are about 4 inches in diameter each.


I did spend some time to clean up the basement porch.
The winter woodpile by the door was finally used up as it has been such a cold spring.


I love how adding a few plants on the porch seems to extend the garden in.


I painted the long bench and the wooden bucket some cheerful colors.
I was going to separate this hosta I dug up from one of the gardens but ended up planting it into the bucket for now.


Perennials are my usual choice for plants, but this dainty purple plant was a gift to each of the ladies at our mother-daughter banquet so I potted it up and set it on the window sill...
as long as the curious cat doesn't knock it off.


It always seems that by the time I have caught up with the house and gardens,
a group has formed of new plants I want to put in.


(My husband and kids started the winter woodpile back where I had plants stocked for the sale just as soon as I got them moved back to the field again.  His work never ends).


I collect hostas; this one is called Pineapple Upside Down Cake.

There are hundreds of hosta varieties and they have great names and beautiful colorings and textures.
I try to limit myself to just a handful of new varieties each year.  As they grow, I separate them and plant them into three different gardens and then I can dig one up and every year or so to have the extras to sell at my plant sale.
(This lets me feel like my collection pays for itself...eventually.
I enjoy collecting something that stays outside and becomes beautiful without my having to dust it or vacuum around it; and the fact that it grows and can be shared makes it even better).

This year I chose Queen of the Seas, Popcorn, Northern Exposure, Miss Suzie, Ripple Effect,
and Ulysses S. Grant.
See what I mean?  They have fun names, don't you think?


Of course, simple blooms like that of the Cornflower are sweet to see.


The Bridal Veil Spirea is in full bloom right now.  The scent of it takes me back to my grandmother's when I was a child.


This is what the gardens look like most of the time in the spring.

I found some dwarf wisteria shoots in the place where I had moved it from and dug them up to see how they would do.

Unfortunately, my walkways are seldom tidy.
Chickens and ducks seem to like the gardens as much as I do,
no matter how much I try to shoo them out.  I kept them penned up until the plant sales were done
and it just seems hard to keep them penned all season with all the thousands of bugs to catch and the green grass to nibble on,
so I try to work with it.


It's hard to believe how much has grown since my earlier post on this flower bed >HERE<.


My plans now are to extend the garden below, clear the center of it, and make an area for our picnic table so we can spend time eating outside this summer.


I would love for my husband to build a support system over it for the wisteria to grow on,
but that may have to wait until the wood is done and the hay fields are mowed and the barns are cleaned out...

Still, it is fun to imagine what I want this place to become.


Until next time, I'll try to finish up the bee picture I mentioned in the last post.
It might be a struggle to stay focused with the blooms calling to me outside,
but I'll get to it!

(Viburnum Doublefile)


Thank you for stopping by.