Showing posts with label bridge. Show all posts

Saturday, September 7, 2013

Vintage Illustration: The Carousel.


For my daughter's birthday, she said she didn't want a party.
She wanted to go to Knoebels.

Knoebels is an amusement park a few hours away.
It is a great family park because unlike  many amusement parks, you do not have to pay to get in.
You can choose to buy all-day wrist bands
(and you can get $5 savings by buying them at Meyer's grocery stores),
or you can just buy tickets to buy each ride
(you can get a discounted pack of $20 worth of tickets for $16 at Weis grocery store).

What is especially nice about Knoebels is the atmosphere.
It is mostly shaded, the noise level is not bad,
and it is very well maintained.

Aside from that, the floral displays they have everywhere are fantastic.


Sitting on the many park benches is a delight.

There are also picnic tables everywhere if you want to bring a packed lunch or buy there,
and the prices are not too unreasonable.


There is a waterway running through the park and numerous bridges to cross it.


Even the painted flowers are sweet.
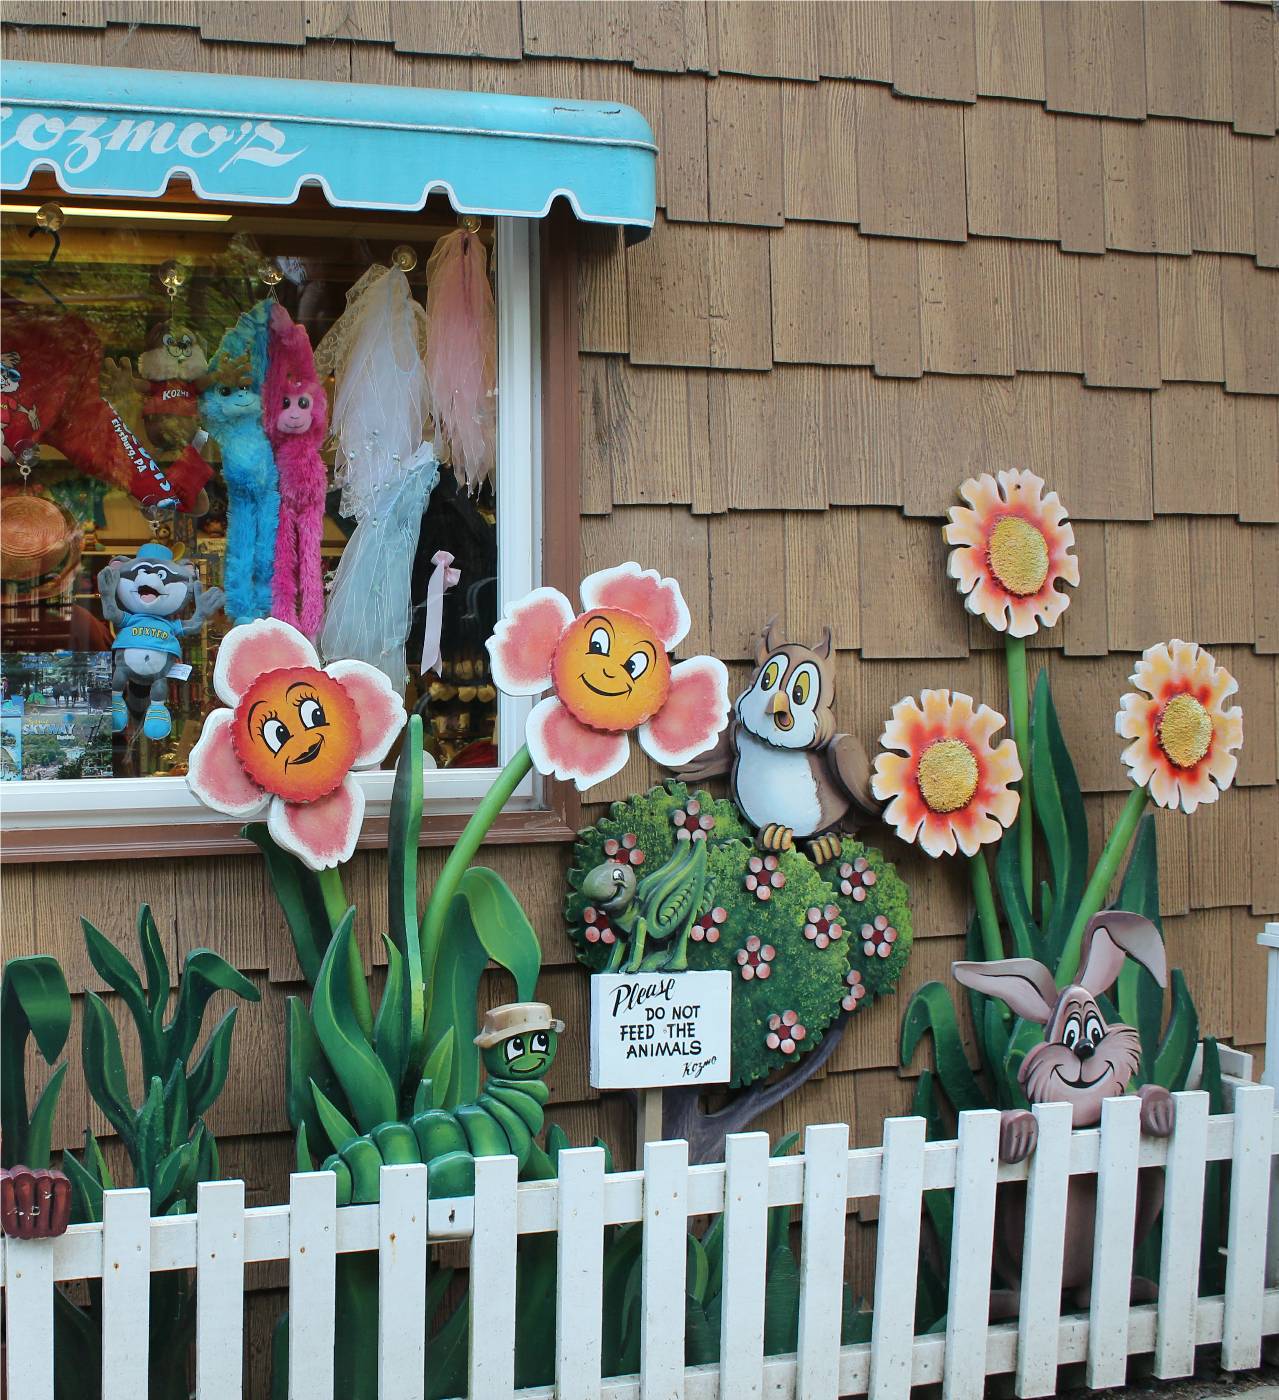


It was a sudden idea to go to Knoebels, but a perfect day for all of us kids.


Because of our trip, I am posting a vintage illustration of a carousel that I found in one of my late 1800's books.


This looks like it would be such fun to color.  I didn't have time this week, but perhaps someday.


Here is the image in black and white...


...and antiqued.


 I cropped and pasted up a few bits of the scene that I thought were nice on their own as well.


Here it is antiqued.


And here is a young boy enjoying his ride.


 Do you have a favorite destination for family memories?


These images are free for use as they are past the copyrighted date.


Have a great weekend!


Sharing this post at these blog parties:

Sunday, August 18, 2013

Painted Mural on the Wall.

Today my home craft is about wall murals.

Here is the painted one along the stairway to our basement.

  My husband replaced all of the stairs
right away because they looked like they might have been from the original building date of 1850.

The cracks and sway of them made me fearful every time I went up or down them.

The walls were thick with so many layers of wallpaper, as I tried to remove them, the plaster of the wall looked like it might come off with them.
It was either a job of total renovation, or some other means of covering the bumpy, uneven walls would be needed.

Since my husband had to leave two months after we bought our farm with his military reserve unit to spend 9 months in Iraq,
and I am not good with either a sledge hammer or hanging new walls,
I thought I would patch the holes that were there
and paint a mural for his birthday present.


 I worked on it in hourly increments.
It gave me something to do for him and a great way to spend praying for him.


The ceiling at the base of the stairway was not completely closed in and had electrical conduit running at the seam, so I decided to paint a tree trunk here and add the artificial greenery to hide them.


 Painting the mural took time, but it was not as hard as I expected.

If it is broken down into sections, it is a fun and manageable art piece for the home.


 I will explain the steps of painting a mural as well as show some ideas.


To see the instructions for mural painting, click >HERE<.

Thank you for dropping in.

Friday, May 24, 2013

Vintage Image: Foot Bridge Over a Summer Stream.


Welcome back.

Today I chose to clean up an image I found in a late 1800's book
of an inviting footbridge over a quiet stream.


I cleaned it and made it in brown and white for an antiqued look,...

 and I created a black and white image of it as well.

I thought for fun I would show what can be done with these images.


I colored one of the antique images with my Copic markers.


 (The fine detail in these old images never ceases to amaze me!)


To make cards, I printed up four of the black and white images and colored them.


(Once colored, it is easy to see by the two different images I colored
that the browned ink image definitely has a more vintage look,
whereas the black and white image has a more modern look to it).


 I wanted to add some messages on my cards since one was for a graduation card
and the other is a thank you card for a friend.

I used my fine tipped calligraphy pen and scratched some verses onto paper
(well, it seemed like my pen was scratchy today;
every artist can blame it on the pen once in a while, right? :)
More likely, I was not calm enough to attempt calligraphy;
but these will work for today).


 I used two verses on cards, and made another 2 cards with just the image on them.


Feel free to use any of the images for your own use,
including both the colored images
if you should want to.

(I explain how to use Microsoft Word to copy and paste images in a previous post
  >CLICK TO READ IT<,
if you happened to miss it and would like the help.)

Thanks for stopping by.


Linking up to these fun blog parties: