Tuesday, December 3, 2013

How to Make Rusty Christmas Bells...without Rust.


 ~*~*~*~*~*~*~*~*~*~


When Christmas time comes around, it is always a pleasant surprise when I head up to the attic and find the grape vine wreaths that were twisted into form from the orchard
(the years that I actually take the time to do them, of course).

I worked 4 of them up and was happy when they all sold over the weekend at the craft sale.

Here is one I decorated with some shiny red bells I purchased at an after-Christmas sale.


The assortment of bells I had were a variety of red, gold, and silver,
just the generic type of metal color.


I wanted some rustic bells for some of my crafts,
so I decided to paint the ones I had to make them look rustic.


Here is the process:

I mixed about 1 Tbs. of Plaster of Paris with about 1  1/2 Tbs. brown paint and splashed in about 2 teaspoons of water. 


The texture of the paint should be very thick.


 I added a bit of red because my brown looked a bit too dull for a rust color.
(I also did a second batch of bells with a little more red, to give variety to the coloring).
 

 (If the paint seems too liquid, adding a little Plaster of Paris will thicken it.
When experimenting with this, trial and error will give the look one wants).


 I used a larger paintbrush that has been squished so much with use that the bristles are spread out;
this makes it great for pouncing around on the bell.


 It is very helpful to have hooks or wire attached to the bells and a place to hang them so the painting can dry.


The bells should be dry in a half hour or so.


 The paint is very durable with the Plaster of Paris in it, but it has a dull finish,
so I put a coat of water-based polyerthane on them.
Mod Podge or any sealer would work.


 Here are some of the bells.
The bell in the front left is actually a rusty bell I had purchased, just to give some comparison.


This trick is useful in viewing those cheap after Christmas sale bells in a new way.
Perhaps it will even give a jingle to your step.


Thanks for stopping by.
I'll be back again in a day or two to build a cinnamon ornament snowman with you.

Let it SNOW!


Sharing at:

Wednesday, November 20, 2013

Art Lesson: Sculpting a Tree and House on Cinnamon Ornaments.


Hello, friends!

I am sorry I have been away so much lately.

I am feeling nearly back to normal, just finishing up a few more paintings for one more craft sale I have to drop off items for this Saturday.

Then I will be done and on to Christmas gifts.
Do you make some Christmas gifts?  They are my favorite to receive,
so I try to create some as well.


As I mentioned a couple of weeks back, I made some cinnamon ornaments to sell.
I thought I would share how simple it is to create scenes on them.

Here are pictures of the process: they are much better at explaining than I could with words.


(There are sculpting tools available and I think I even had some at one time,
but this pen cap worked well, so I used it.)


(Splitting the branches you have added works well at creating smaller branches as it gets tedious to try to roll twigs this small).


(Once the tree, branches, and ground is placed where you want,
blending the edges into the background piece is important.  This will prevent them from breaking off easily once the dough is dried).


(Don't for get to use a straw to cut out a place for the wire to hang them).


These are so fun to make.
They do shrink up a bit when they are dried.  It is helpful to speed up the drying process in a dehydrator set on low or in the oven on the lowest setting for a couple hours till they feel/look dry.

Here is the recipe I used:

Between 3/4 and 1 cup applesauce (not chunky)
1 cup of cinnamon
2 Tbs. white glue

If the dough feels too dry, add more applesauce; if it feels too wet, add more cinnamon (I put the fluctuating amount in the recipe by the applesauce because I found it easier to adjust that than the cinnamon: I had a limited amount of cinnamon to use).  Use cinnamon to dust the working surface and rolling pin.  I read that the more you knead it, the easier it is to work with/the smoother the clay will be.  Also, these will last indefinitely (I assume as long as they are not allowed to get wet or too damp.  While looking over the various recipes on the internet, I have read comments from people who have had them for nearly 20 years).

Thanks for stopping by!


(I will be sharing how to sculpt the snowman in the upper left next week,
so get some cinnamon dough mixed up and come on back!)


Sharing with these great blogs:
Wearethatfamily.com
DIYbydesign.blogspot.com
Wise-woman-Builds Her Home:linkup
Savvysouthernstyle.net
Nominimalisthere.blogspot.com
Cityfarmhouse.com
Savvysouthernstyle.net
Frommyfrontporchtoyours.com
Astrollthrulife.net: Inspire-me-Tuesday


Thursday, November 14, 2013

Art Lesson: Sketch Page of Puppy.


This week, I am sharing a page from my sketch book
showing how to draw this sitting puppy.


Here is the page from my sketch book.


Here is a page you may print up for your children or yourself,
if you would like to try sketching the pup.
(It is free for use, just not for resale).


Thanks for stopping by!


(To copy these pages, click on the image, right click, and then click on "copy".

Open up Microsoft Word and right click on the screen, and then click "paste".
 The image should paste onto the page.

You can then click "print".
If you have difficulties or suggestions, please let me know.)


Saturday, November 9, 2013

Free Vintage Images: Birds with Nest, Water Scene, Country Road.


Hello!

Here is a fun page I found in one of my old late 1800's books.


It isn't spring here right now,
but I needed a nice image for some tags,
so I edit\ted this image into separate images for the one I wanted.


I used these birds on my price tags for my craft sale pieces.


Here is is antiqued.


 This part is so pretty on its own, too.


 Finally,
here is the man walking up the road.

 What a peaceful walk.
I would love to walk there; wouldn't you?

 You are free to use these images as you'd like.


Thanks for stopping by and have a happy weekend!


Tuesday, November 5, 2013

The 10th Commandment Coloring Pages


Hello.


Today I am catching up and posting the final of the Ten Commandments
coloring pages.


 Here is also a colorized version.

These pages are all free for use,
just not for resale.


Thanks for stopping by!


(To copy these coloring pages, click on the image, right click, and then click on "copy".

Open up Microsoft Word and right click on the screen, and then click "paste".
 The image should paste onto the page.

You can then click "print" to use them as coloring pages.

If you have difficulties or suggestions, please let me know.)


Monday, November 4, 2013

Update: Getting Ready for Christmas Crafts


Hello!
I am sorry I disappeared for a few days.
I took a week off to work on crafts as the deadline for one of the Christmas craft shows I sell at
sort of snuck up on me.
Here are some things I have been working on.


 Cinnamon ornaments.


The kids have made a fun assortment of perler bead ornaments.
This is a cow pattern I made. 


 Painted wooden ornaments.


  Snowmen made from vitamin bottles and juice bottles
(I will be explaining them soon in my "12 Days of Home-made Christmas Crafts").


 Slates, paintings, and cereal box Christmas trees.


And a variety of other painted crafts.
It's fun to get into the Christmas spirit a little early.
I'll be back again soon!


Saturday, October 26, 2013

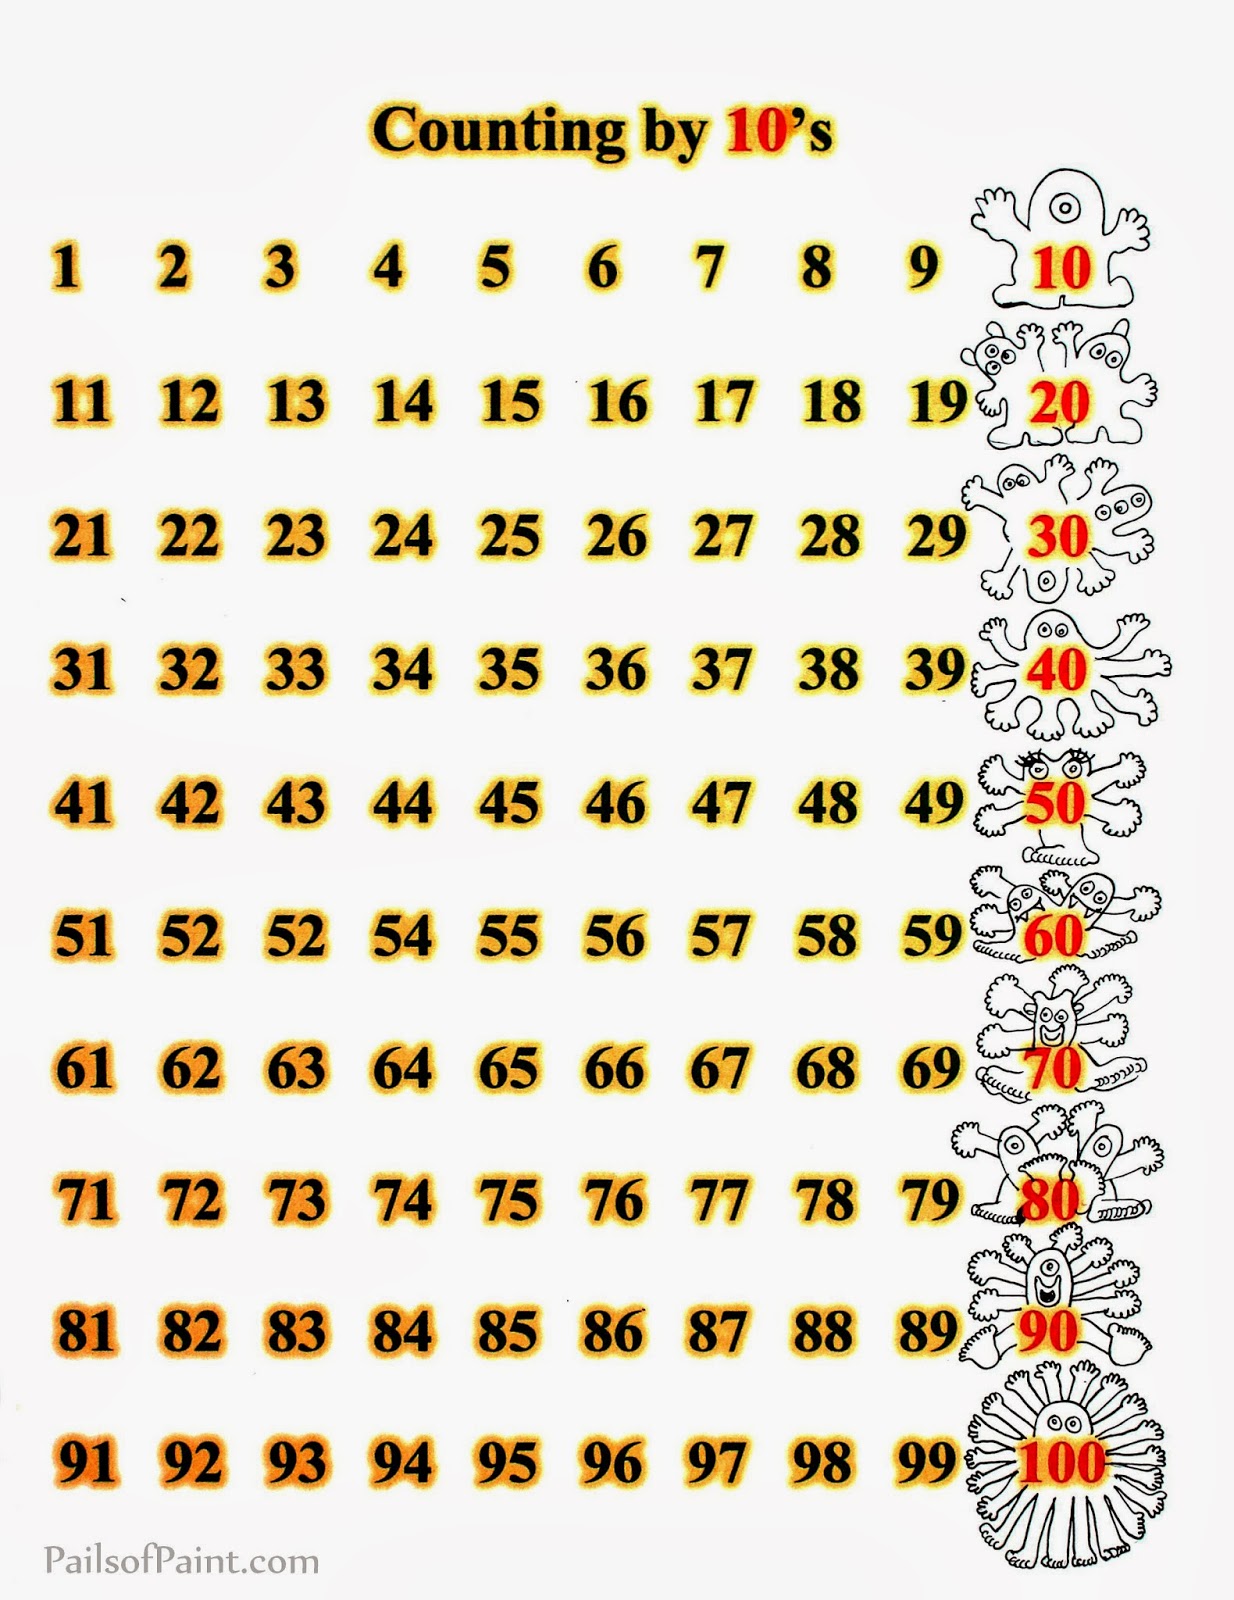
Educational Printable Page: Counting by Tens.


Today I am sharing a page I made for my son's schooling.

It is a count-by-tens page.


He loves crazy creatures, so he was happy with this one.


Here is a colored version as well.
I used my Copic markers and his direction on which ones to color which.


Feel free to use these as you'd like,
just not for resale.


Thanks for stopping by!