Thursday, May 9, 2013

Art Lesson: A Mother's Day Sketch.


For mother's day,
I wanted to draw a picture of a good friend who just had her first baby
(I will refrain from using her name for her privacy).


 I love this picture.
It speaks volumes.


Sometimes, to help me get the correct proportions, I take out a ruler and measure what is there,
so I can get a better idea of the proper sizes/placement of the image on the paper.


 I measured the full length of the image.


 I also measured the widest section,
from the mom's back to the edge of the baby's blanket.


 I took facial measurement since they are so important to get right
and are often what I find to be the hardest part to get correct.


 A few other helpful measurements are taken.


 I then lightly sketch in a rough outline, remembering the measurements and adjusting as I go.
My image is not the same exact size as the original, so I have to roughly enlarge each section,
sketching not so much in exact inch measurements, 
but in half, thirds, and quarters, etc.


 Because I want to make this into a card,
I decided to add a border, choosing a heart shape.


 Sometimes, when I want to check on how to see the image in a more simple way,
I use whatever I find handy to set it up visually for me to better see it.

I had some unused craft sticks on the table, so I used them to help me check on my angles and proportions.


 First I put them on the picture I was drawing from as I drew in some of the details.


 Then I put the craft sticks on my own picture to see how it was measuring up and adjusted it as necessary.


(the white bits in her hair are scratches on the copy...
just thought I should make mention in case somebody wondered)

I was having trouble getting her eye to look right,
so I focused on the light by squinting at the picture.


I realized there was a "bubble" along the closed eye, where the eyeball shape from underneath was visible,
so I worked at this til it looked right,
adding some curled eyelashes as well as the slightly opened eye underneath.


I then began to work on the nose and lips, lightly at first, and darkening when I felt I had caught the look I was trying to get.


 I find I am always looking back at the original to correct the lines I draw,
back and forth,
and sitting back to analyze
(as I am right now and want to get up and go correct something I see in the lash line and where the top of the nose starts because one of the biggest necessities of being an artist demands constant critiquing to get the lines right).


 Sometimes, artistic license can be used to change a picture, 
such as my decision to let some hair fall down the back.
It isn't necessary, but I wanted it this way for the card.


Getting the proportions of sweet baby's head was tricky,
as well as his barely visible sleeping eyes.


When I needed a break from all the exacting details, I began to sketch in some flowers around the border,
as well as part of a bold edging. Sometimes I like to break up delicate images with confident, distinct ones.


 It is looking the way I am wanting, but I set it down to share these tips with you
and will continue to finish this.


I hope to have the finished version of it up before mother's day
(if my own sweet bairns do not steal all my attention away).


Happy sketching and thanks for stopping by!

(The completed sketch can be seen >HERE<)


Sunday, May 5, 2013

Adding Poppies...Coffee Filters Turned Floral


When I look into the face of a flower,
it almost takes my breath away.


The vibrance of color packed into such a delicate form,
petals as soft as velvet delicately balanced on the top of a long green stem.
Incredible!

These are tulips that look very much like peonies.
I also love poppies.

I wanted to try to create some flowers to add to a sign I made for our basement door.


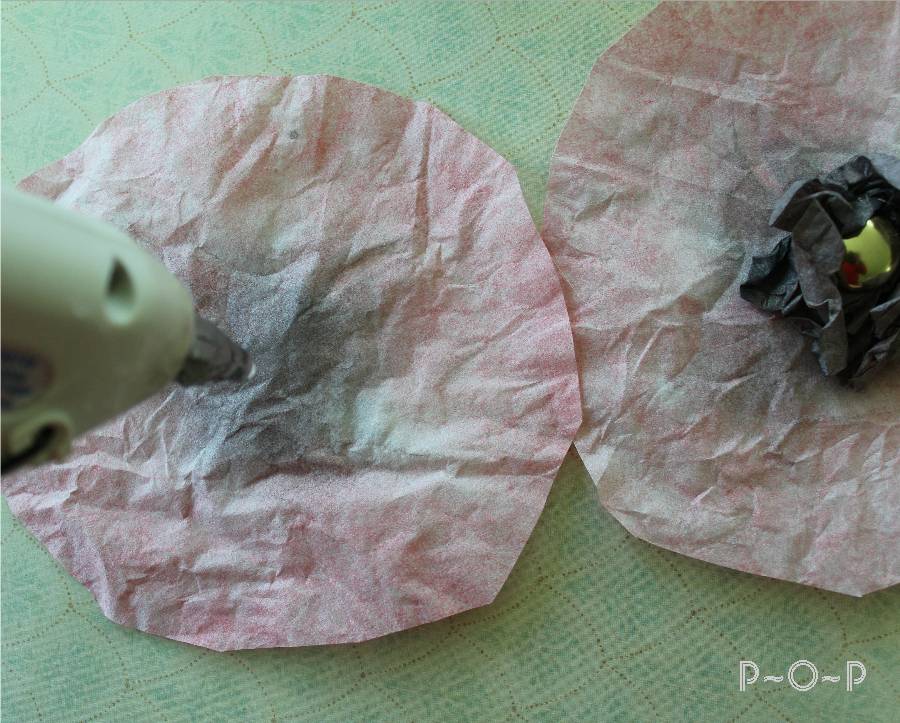
For each flower, I used three and a half color-stained coffee filters, a button, hot glue gun, and green tape.


To color-stain the coffee filters, I drizzled some paint into about 1/4 inch of water in my bowl.
(The more paint you use, the darker your flowers will be; or if you want your flowers a darker red, after they have dried from the first dip, you can dip them again .)


 Count out how many you will need, and dip them all at once,
or half at a time, depending on how many you are doing and what is easier for you.


Push them down until they are all covered in paint.
Pull them out and wring them out together gently 
(you may want to wear gloves for this).


After the red coffee filters are done, repeat this process to make the brown coffee filters.


 Once the brown filters are set aside to dry,
paint a patch of brown in the center of the red circles.


Lay them out to dry.

 In a day or so when the coffee filters are dry,
count out the circles that will be slightly smaller (two for each flower).
Gather them together and cut a few at a time.  It is not necessary to have these perfect.  Imperfection makes them look more like real petals.


Next cut the brown filters in half.  Crumple a half loosely
and glue the button to the middle of it.

(You can paint this button if you'd like.  I painted mine with a reddish brown glass paint, but as these buttons will not be handled, any paint should suffice).


To make the flowers, take the largest pink circle, gathering it at the middle.
Take a piece of tape to wrap around the gathering.
(I used frog tape since I had it on hand; florist tape is a good choice, too).

 I  had wrapped a wire with the frog tape as well,
so I wrapped the piece of tape around this "stem" and then around the flower base.


 Taking one of the smaller red-dyed coffee filters,
drip a bit of hot glue in the center and glue the brown-papered button center on.


Then take the other small red-dyed circle and put a drip of glue in the center of that one as well.


Place the layers together.


You can carefully crunch these up together to help give your petals a more realistic look.


 Then put the whole flower together by gluing the inside flower to the larger piece fitted with the green tape.


If you have any extra red coffee filters, you can glue some without the center pieces,


This makes a bloom that is almost ready to open.


To create a bud,
take the pieces left-over from the circles you cut to be smaller and roll them up.


Add some tape.

 I used the wrapped wire with flowers to drape around my door sign.


 The left-overs were added to some floral wire and put in a vase,
because I can never get enough poppies and the real ones just don't last long enough.


(The vintage image glued to the bucket vase is from the Graphics Fairy).

 These are simple and fun to make for oneself or even to use for decorating for a shower or party when flowers are not in season or easy to obtain.


Of course, the real ones are still best.


Happy crafting!


Sharing with these fun blogs:

Friday, May 3, 2013

'A Visit to the Pig Pen' Vintage Illustration.


Today I am sharing a vintage print of a couple of girls visiting pigs in their pen from an old book I have.


We have two pigs and it's always fun to see how much they enjoy the scraps from the kitchen and garden.
I can see why it is insulting to be told one eats like a pig though.


Here is the antiqued image to use for fun as well.


Happy weekend to you!


Linking to these fun blogs:
Betweennapsontheporch

Thursday, May 2, 2013

Art Lesson: About Paintbrush, Pen, or Ink


My lesson for this week is a day late; I am sorry about this.


There is quite an assortment of options to be used in getting artwork onto the page
but also onto crafts as well.
I am going to share with you some of the methods I use and why
(not that you have to use mine because much of what an artist uses depends on what he is most comfortable with and the surface he is applying it to.)


First we have paint pens.

 Paint pens are a handy way to tackle those fine lines.
You can get a variety of these pens, oil and acrylic,
or a specialty type for glass.  They come in several tip thicknesses as well.

I have used them on signs and to draw on glass.
I do not prefer them because I don't feel like I have the control over the flow of ink that I like:
I find that as I write, the tip does not make an even line but becomes dry.
In order to get the flow going again, the tip needs to be pushed down upon.
This always seems to make a large puddle come out from the tip.
(I recommend pushing the tip down on a scrap paper, so that the puddle is contained there, but then I find I am going back to rewet the tip in that puddle since the tip stops flowing evening quickly.
Perhaps you can find an alternative to this problem, but I have not been able to.
Please share with me if you have.)


I have used them for certain tasks despite this problem.

I have used them on fabric:


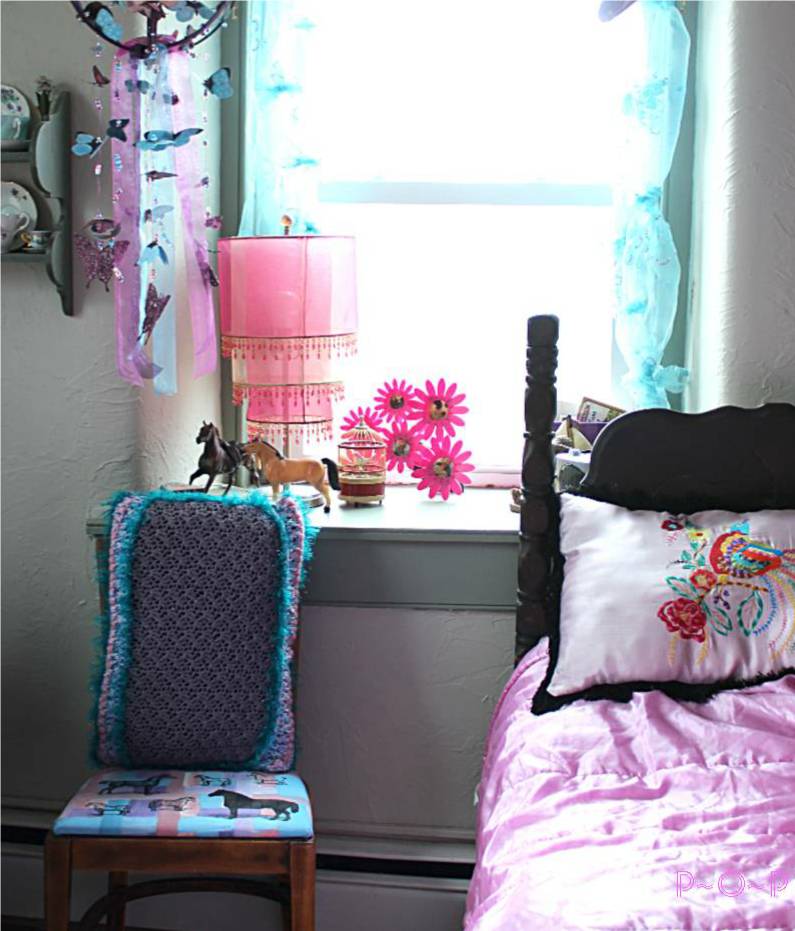
For the horses on this seat, I used a paint pen,
using a scrap paper to re-wet the tip when needed.
(Images from the Graphics Fairy and transferred using the charcoal-transfer method)

I felt the pen gave me more control on the fabric to draw the fine lines that would have been much more difficult with a paintbrush.  I knew the ink would not bleed on the fabric because the fabric had been painted first, giving it a sealed surface.


This sign made from an old cupboard door center piece was done using the paint markers,
but I think I would have actually preferred a fine paint brush.  
This is  personal preference just because I like how easily paint on a paintbrush glides onto a soft, smooth surface like this was.  My paint pen needed to constantly be re-wet on a scrap paper and I find this more tedious than painting with a paintbrush; but again, this is a personal preference.  If you feel more control with a pen, you may like the pen method.


For doing drawings on paper, such as for a coloring page or a drawing for a card,
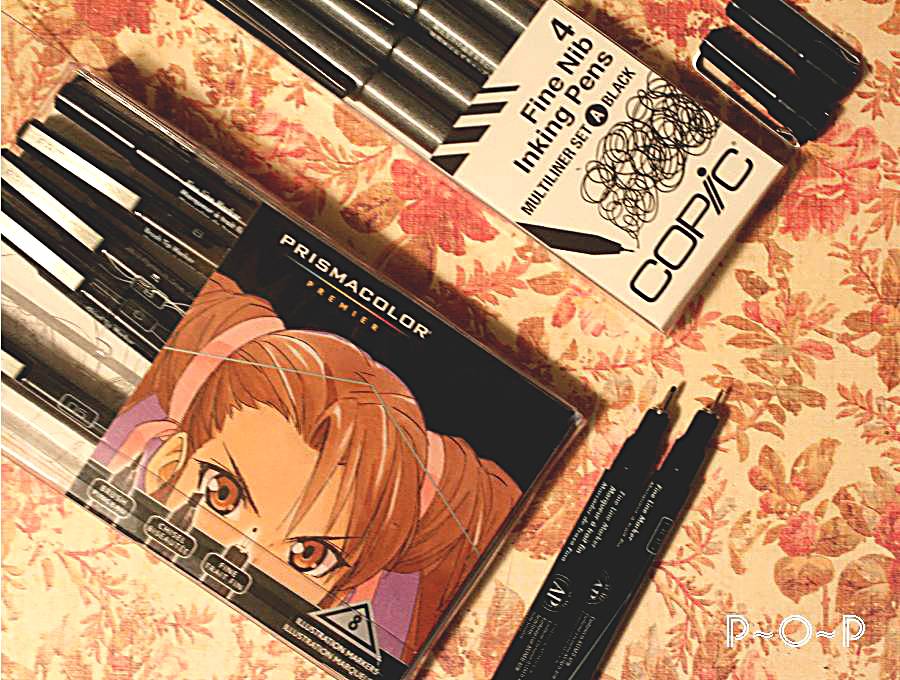
I like to use these art markers.


 I picked up the Prisma set at a Staples store,
and ordered the Copic markers through Dick Blick Art Supply.
These are nice because the ink color will not fade as cheap markers will;
these are alcohol-based so they can be painted over as well with paint or markers,
and they have various sized tips.


For this method, I generally start with a light sketch in pencil and then draw over the image with the pens, lightly erasing the pencil when the ink has set in.
(Sketching directly onto the paper with these pens is a great option, too).
They give a crisp, clean look.

(This is from part of a coloring page I am in the process of making.)


Another of my favorite outlining methods is using a dipping calligraphy pen with interchangeable tips
and dipping ink.

Here is a warning: the kind of ink that I find at the craft stores is Higgins.
It says that it is waterproof, but I have not found it to be.  I like inks that I can paint over, if I choose to, and I find that these inks bleed into the paint or wash completely off of crafts that I have used them to draw on.


When looking for an ink that will really be permanent and allow you to paint over it without smudging it,
I find that getting a shellac based ink, an Indian ink, or an acrylic based ink is permanent.


There are an assortment of colors to chose from; I purchase mine through DickBlick.com online art supplies because I also like to read the reviews; although much of what I have learned from these inks is from trial and error.

There are many different tips that may be used.

Be sure to clean them when done using them.  Using permanent inks will stain your tips.
 (Honestly, I actually just rinse mine in water right away.  I know that technically, mineral spirits or such should be used,
but I don't like to keep that sort of thing sitting around because I have young children, and I find water does a good enough job at rinsing if the pen is thoroughly whisked around in the water immediately after use.  If my tips get too abused, I just purchase new ones.  I have only purchased new ones 2 or 3 times in my 20 years of using my dipping pen, so it is not a real problem.  I use my dipping pen a good amount, too, as it is one of my favorite methods.  I suppose if I used an expensive dipping pen, I would take care of it properly, but I find this inexpensive version works well and affords me this easy clean up method.
If you are a real artist, please, find it in you heart to forgive me for this. :) )


I often use a piece of charcoal pencil (or sketching charcoal) to lightly sketch in my design before using the permant ink when using dipping pen and ink on crafts.  This wipes off easily after the ink is dried.


I use the dipping pen to paint on small large objects (like artwork done on a slab of wood or repurposed cupboard door), and small objects (like Christmas bulbs and gourds)


I liked to draw the image on and then paint it in after the ink has thoroughly dried.
This method is easiest for me to control,
but you may find you prefer something else...


like the simplicity of a fine-tipped paintbrush and paint.

The choice is up to each artist, and with the variety that is available,
there is always a method for each of us.

Let me know what your favorite is.
I always enjoy hearing different methods and tips we can try.

That is what is great about sharing our pails of paint.