Showing posts with label DIY. Show all posts

Wednesday, January 20, 2016

Art for the Kitchen: Woodburned Wooden Spoons


The kitchen holds so much of our lives:
cooking, eating, washing dishes, chatting and laughter, playing games, singing...

It makes sense to fill our kitchens with things that we love, don't you think?  Since I can't always find those quirky things I have a liking for, creating some becomes the only option.


Having a Russian father, I have a special place in my heart for Russian nesting dolls (matryoshka dolls), which aren't always easy to find, so I decided to wood-burn one on my spoon..


Making Borscht will be extra fun now, I think.


Here is the process I use to go about wood-burning wooden spoons.

First I sketch the design I've chosen lightly with pencil.  I then begin wood-burning as if I was using a pen.  (There is not way to erase with a pen, so that is why it is more like drawing with a pen rather than a pencil.  There is no room for error so having a steady hand is necessary.)


Being careful 
1. not to let the wood-burner sit too long on any spot: this makes a deep, dark burn;
2. not to accidentally touch anywhere on the spoon with the tool where marks are not wanted because it can make marks rather quickly.
These are two tips that I had to learn the hard way.


When the burning is finished and you are satisfied with your burning, turn the wood-burning tool off and set it aside in a place where it can safely cool; it stays hot for a bit of time (and be sure to stop when you like it as it is: better to stop when it is satisfying than to continue and possibly make an un-fixable mistake).

Once you have made sure the spoon is also cooled, erase the pencil markings from the spoon.


Next I use coconut oil and rub it into the spoons.  I also have some beeswax around, so I rub in a small bit of that, too.  You just want to rub in an oil that wouldn't be harmful to eat as some will come off when you use it in cooking.  I have found rubbing coconut oil into my wooden spoons every few months helps to keep them from cracking.


The backs of the spoons are also fun to burn but be sure to do them before you rub the oil onto the spoon's front.


I enjoyed doing these spoons more than I expected, so I bought a selection at a kitchen store and burned them to sell at the Christmas craft sales.  These were fun to work on in the evening when the kids were in bed and I was sure to have quiet (and no bumping).


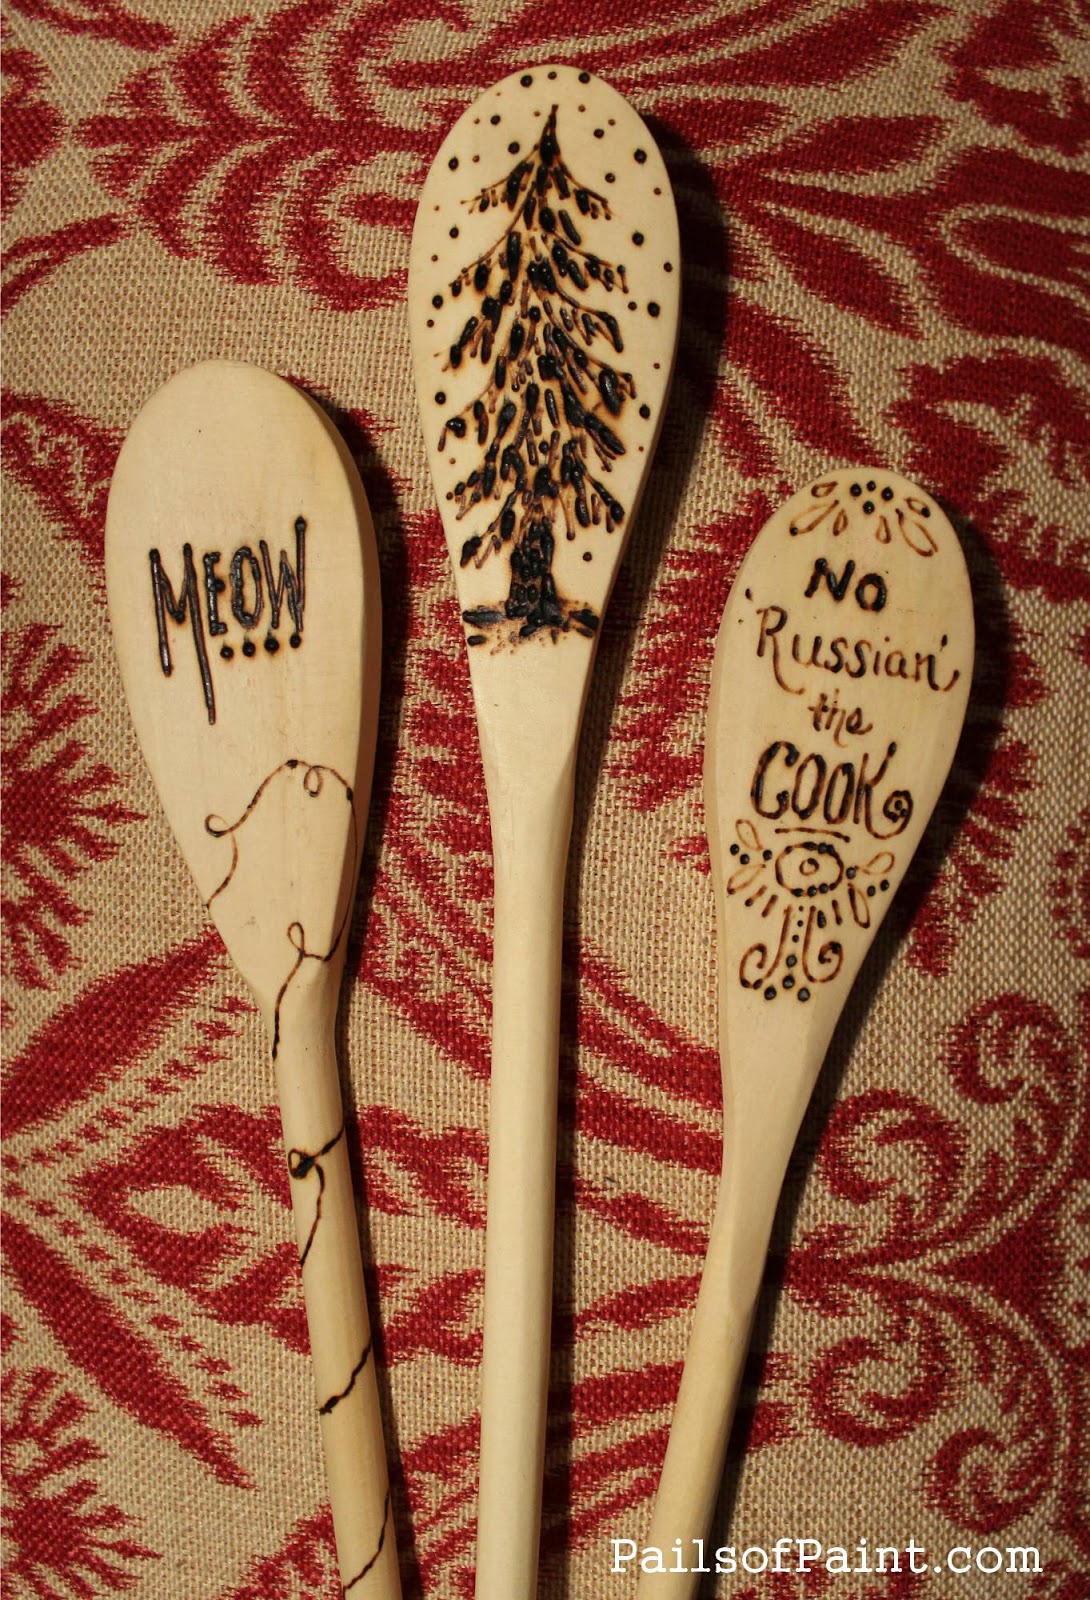


I got some ideas from Pinterest, some from calendars or cards, some from things I have enjoyed drawing before.  The scope of ideas is endless!


I think these chickens were from a design I saw on a piece of material; I liked their quaint simplicity.

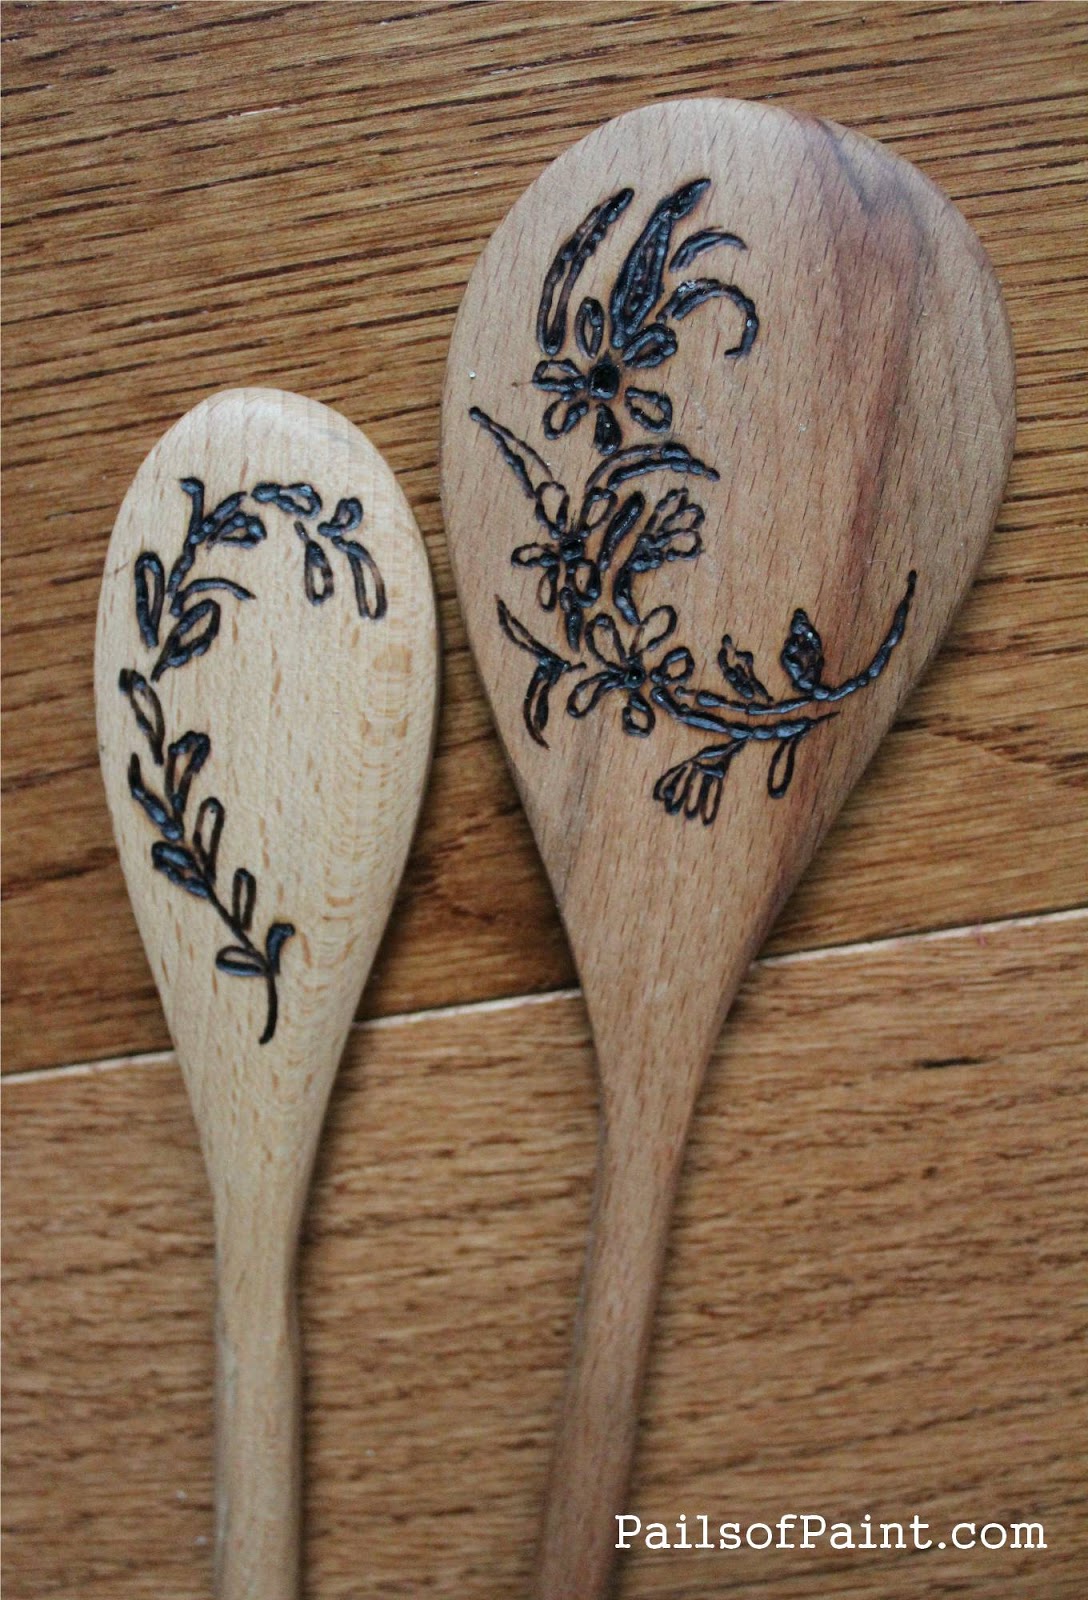


 I did not sell all of the spoons, so some were great to give away in Christmas gift bags.


 I had fun making these and I'm sure you might, too!


Thanks for stopping by!


Saturday, June 21, 2014

Curtains: A Fun, No-Sew Fix.


Hello!

I have been working on a bunch of different projects but haven't completed most of them, 
so I went looking through the photos I have in my files and found this easy project I did to transform the curtains in my daughters' room.


The girls had picked out some very long sheer turquoise panels with embroidery and sequins on them.
We could only find four of them, and there are three windows in the room.
Knowing that they were only going to be for decorative purposes and not to be closed up at all,
I bought them and decided to cut them in half, with one extra curtain left to make a valance across the center of each 
(which did require sewing, but if valances had been available, this step could have been skipped).

I could tell that these were completely synthetic and the fabric would melt if heat was applied.


 The curtains were about 3 feet too long for the windows, so I cut the length to the windows.

Then I took what was left and cut strips in different widths from about 3 inches to 5 inches or so.


I took the strips and began to pinch them up to gather them, accordion style.


When the entire strip had been gathered up, I pinched it together.


 With some turquoise thread cut to about 10 inches long that I had thickened by folding it over on it itself about six times it's normal self, I tied the folded material in the middle.
(I wanted the long extra string so that I could tie them onto the curtains later.)


When this was knotted well, I pulled the folds out to create a poof.


 I continued creating poofs until I had used up all the left-over material, making about 60 poofs
(this is great to do while watching a movie with your husband, especially a war one.
I may be speaking from experience).


 To seal the edges of the poofs, I lit a candle and lightly held the edges over the flame until I could see they had begun to melt.


 The poof on the left has not had the edges melted.
The one on the right has been finished.


 Next, I cut 4 inch wide strips lengthwise into the sheers that were going to be used as the actual curtain panels 
(ABOUT 3 INCHES FROM WHERE THE BASE HEM OF CURTAIN ROD POCKET IS SO THAT THE CURTAIN ROD PART WAS UNHARMED).
 and then lightly sealed the edges of each strip over the candle flame.

(This made the curtains each have three hanging strips to each one.)


 (The hem of the panel could have been melted as well, but I chose to actually hem these up.)


I then tied the poofs at intervals on the different strips of the panel.

Toward the middle of the curtains, I tied two strips of the curtain together in one poof, and then below that toward the base, I tied the other with one of them into a poof, so that the curtain had more of a unified look instead of looking like strips.


This created a fun, fuller look for the girls room and added a bit of character to the panels.


Because everything was sealed with the candle flame or fastened tightly with knots for the poofs, these curtains will be washable on the gentle setting.


Adding artistic touches to the home is rewarding because it makes your home unique and special to you and your family and it is almost as fun as creating art it on paper...
almost. :)

(You can see more of the my daughters' room in my home tour  >HERE<).


Have you added any personal touches to your home lately?
I'd love to hear about them!
 

(If you have any questions, let me know.  Explaining this process was a challenge, but I hope it made sense).